


ctnewman
-
Posts
55 -
Joined
-
Last visited
-
Feedback
0%
Content Type
Profiles
Forums
Events
Gallery
Media Demo
Store
Posts posted by ctnewman
-
-
(I apologize to whatever moderator I just sent the following post to as a "report post" description)
I finally put coolant in it and it quieted right down...
She's almost ready for the streets!!!!

-
The umbrella one is still my favorite.
-
That's f**king funny. I got called a lady the other day by my CEO's wife... Maybe it's time for a haircut.
You guys really don't think that sounds loud though? It's been a while since I had anything with an RB in it, but it just sounds like a f**king typewriter... is that normal?
-
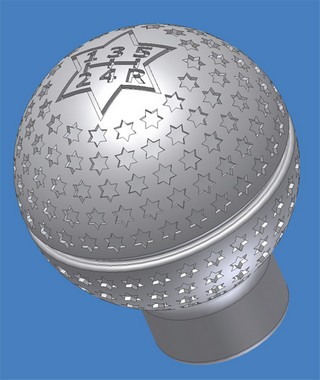
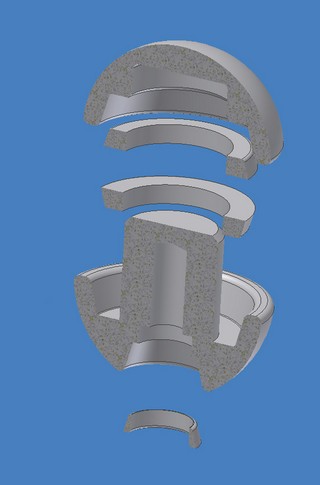
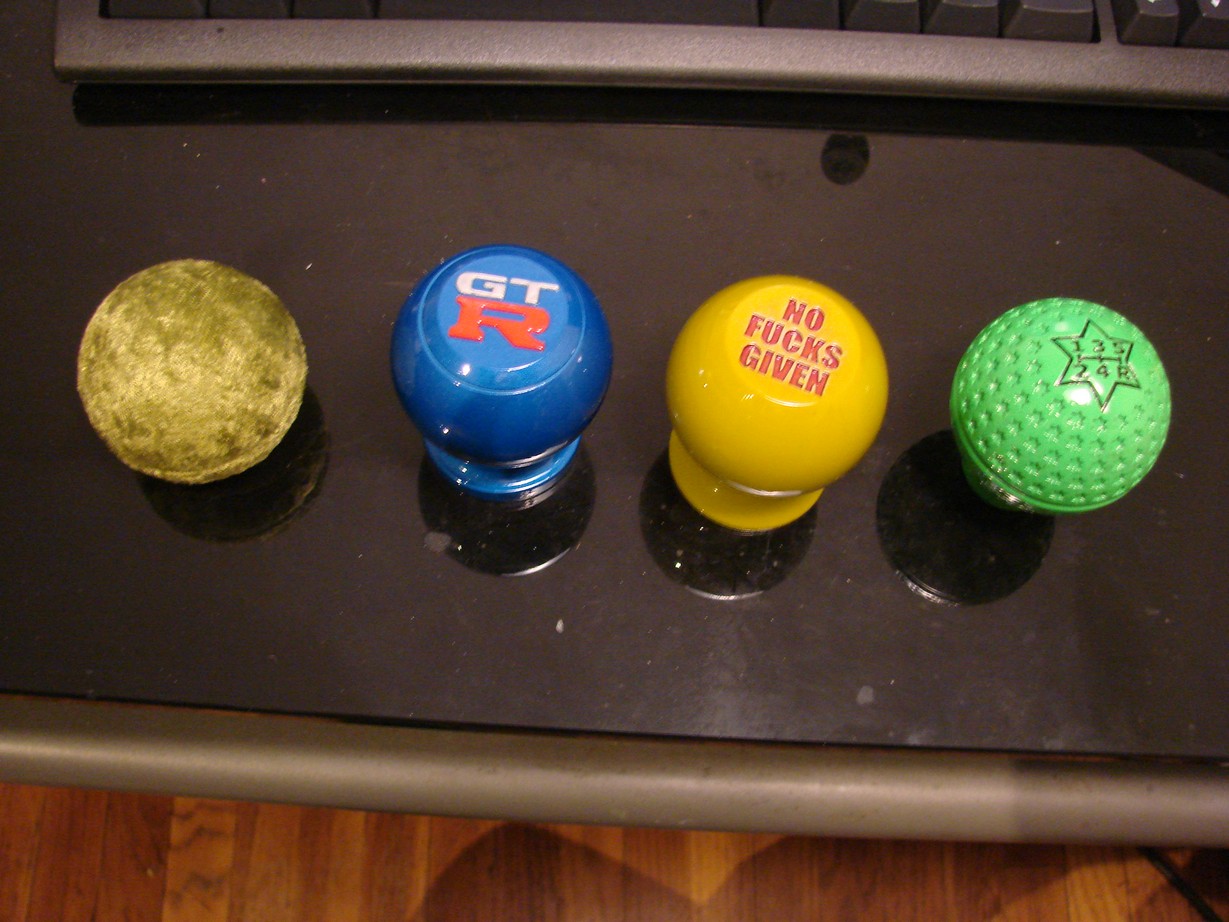
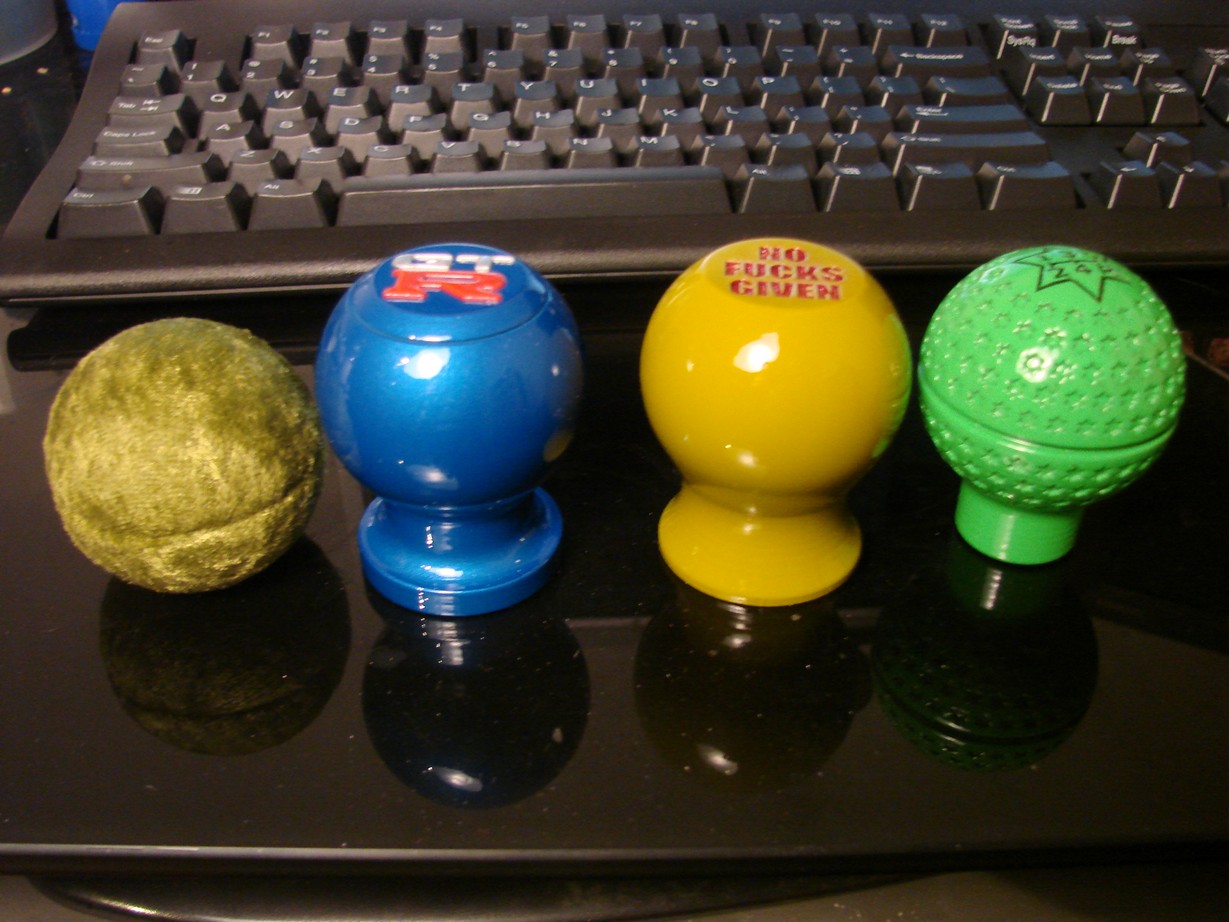
Used a 3d printer we have at work. The material is similar to ABS plastic.
First drawn in cad:
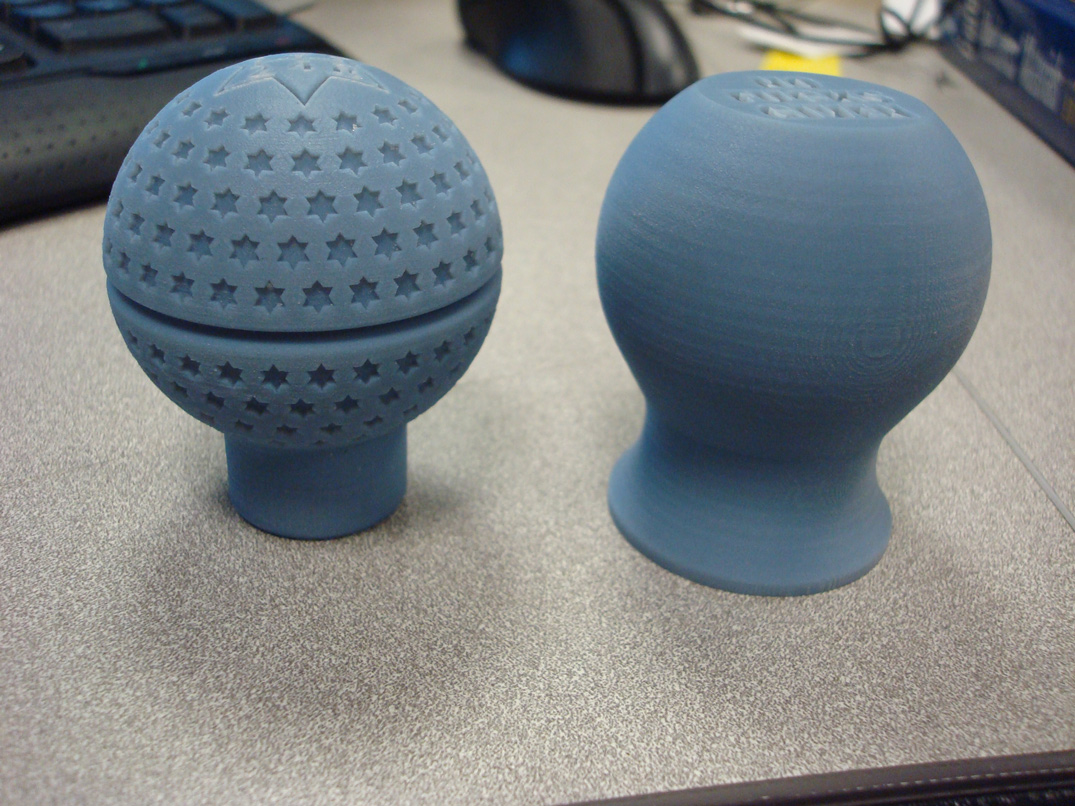
Then printed:
And then here are some of the end results, I have a few more in the works as well... Sorry, but I can't make anyone else any, before you ask...
-
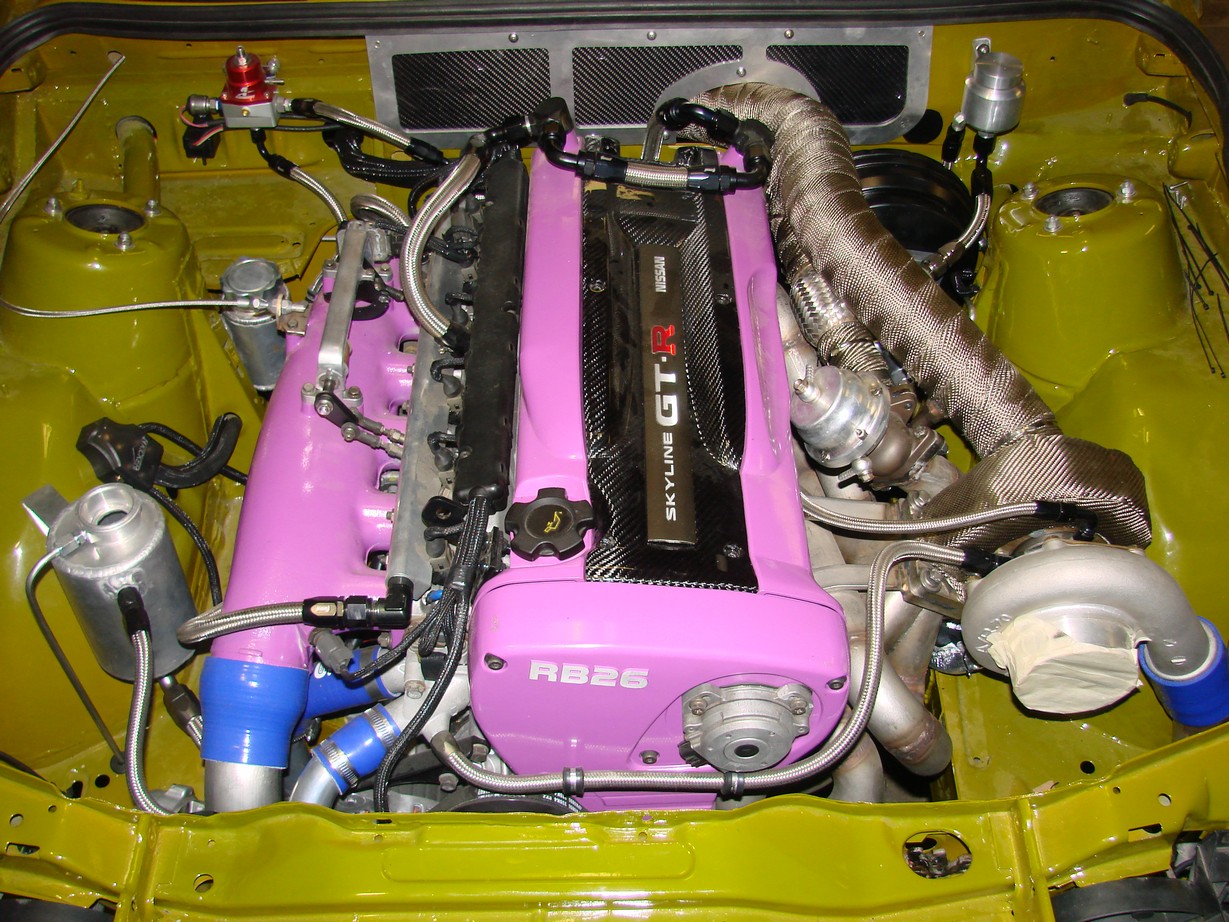
It's a rebuilt head, ferrea springs, new guides, stock cam, stock clearance.
There was no coolant in the head during the few seconds this was run, it was also the first couple seconds it had ever been run...
-
BUMP FOR DATA THAT I GATHERED MYSELF:
-
Looking for calibration data for the 1 wire probe in the oil cooler housing.
Ohms @ Degree...
I realize I can pull it out and calibrate it myself, but I'm trying to avoid that.
-c
anyone?!
-
Looking for calibration data for the 1 wire probe in the oil cooler housing.
Ohms @ Degree...
I realize I can pull it out and calibrate it myself, but I'm trying to avoid that.
-c
-
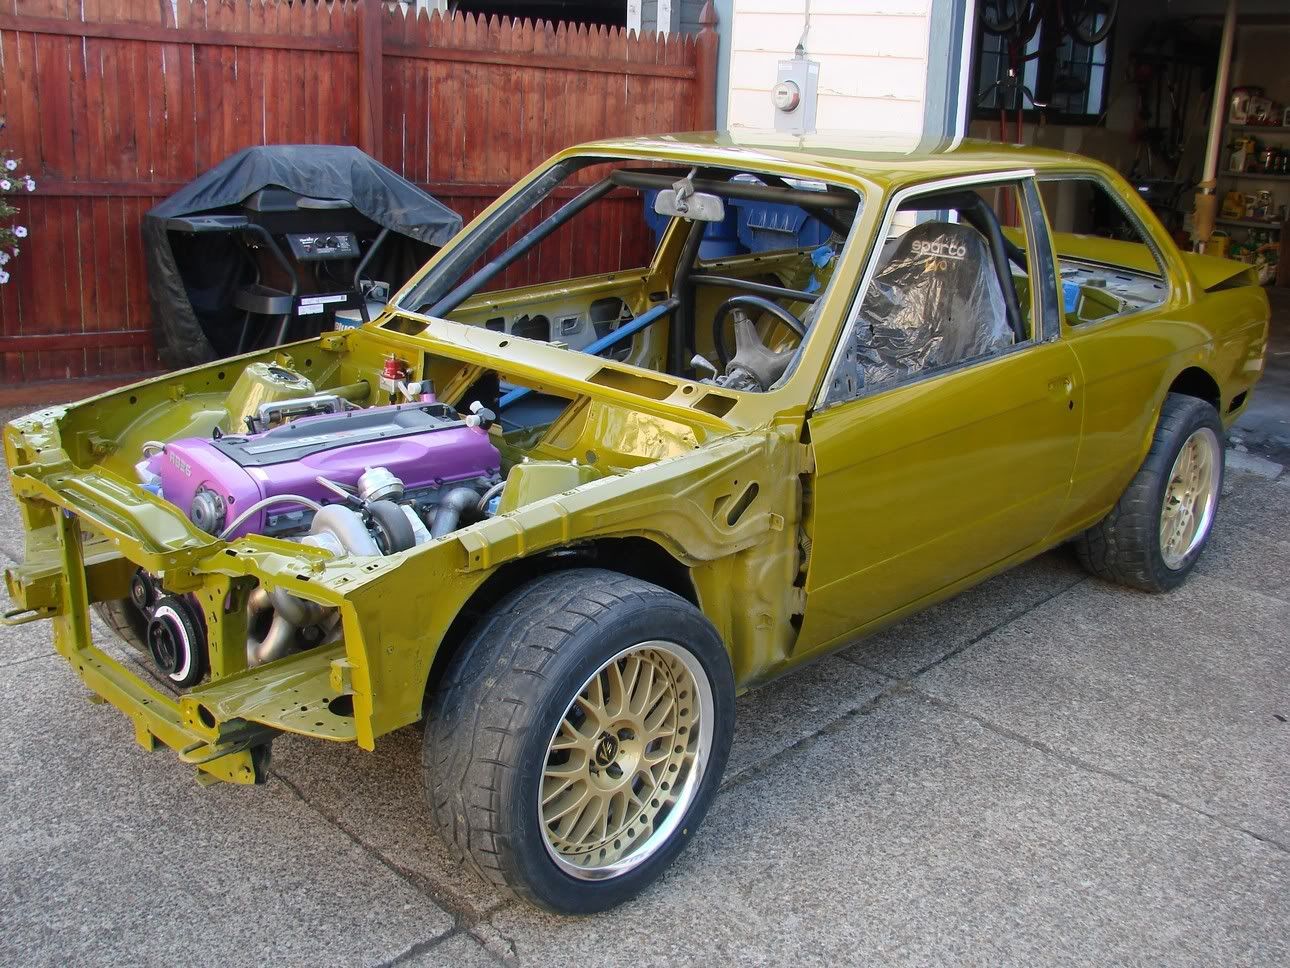
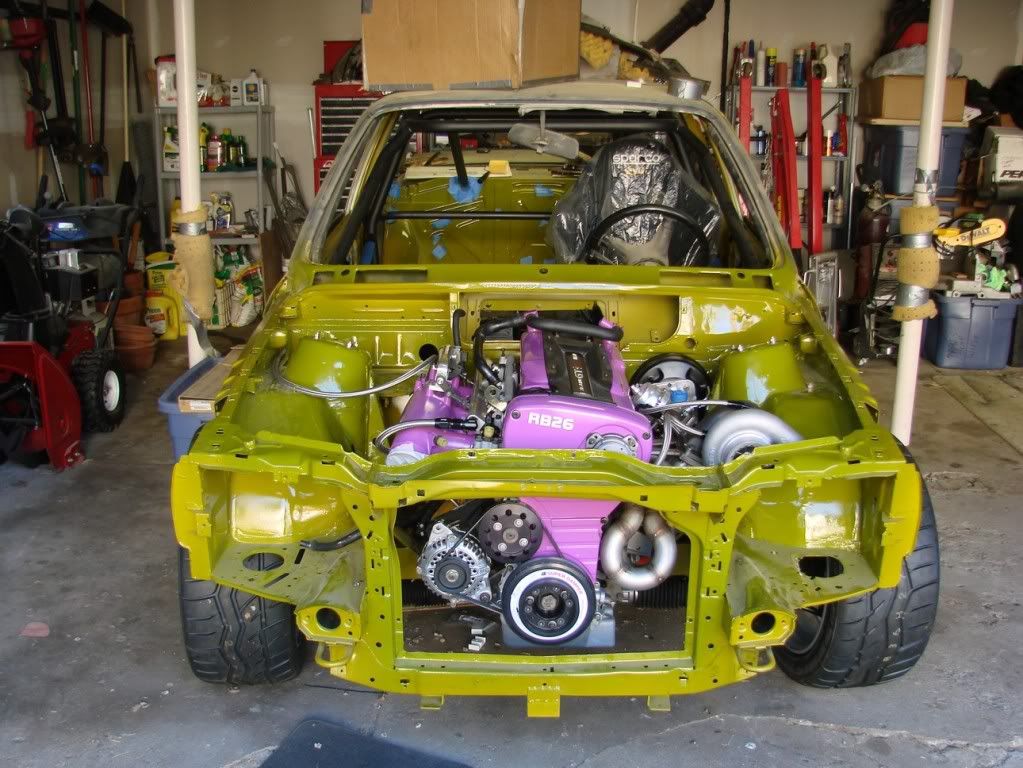
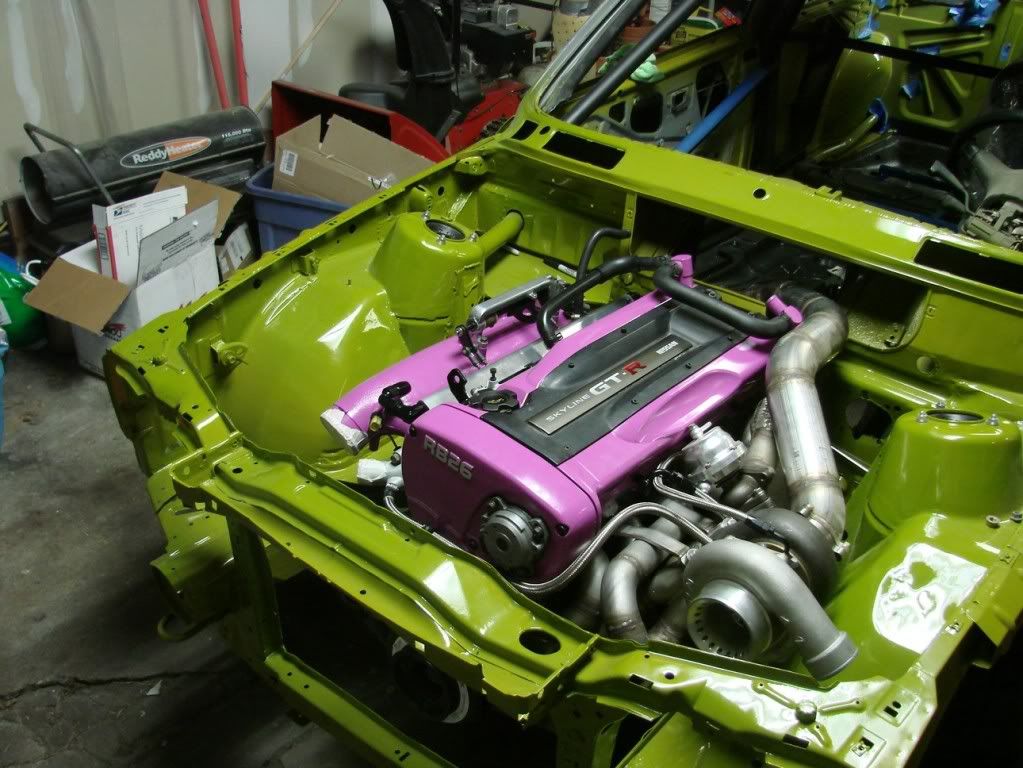
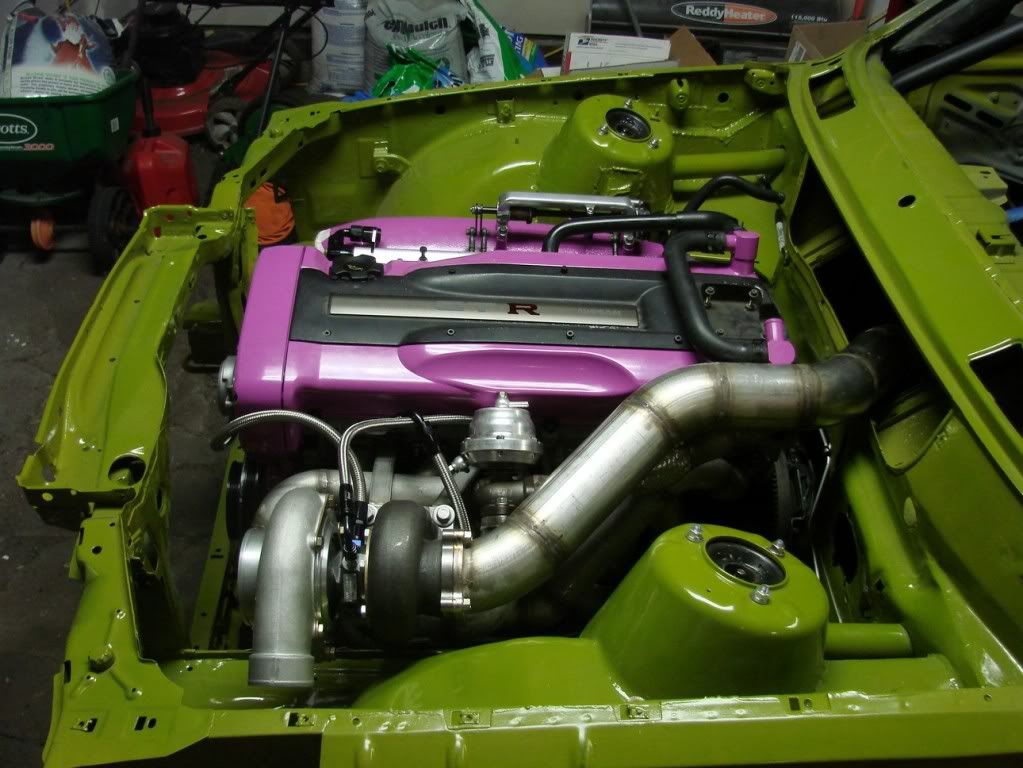
There are tonnnns of new updates over at:
http://onyxsyndicate.com/newman/e30gtr/e30gtr_00.html
a lil preview:
Gonna try and start it up tonight...
-
glad I'm not the only one with tape on my crescents haha
So when do we get to see the flares?
flares, even the rears can't go on til sideskirts are on
sideskirts can't go in til fenders go on
fenders won't go on til it's tunning, probably, so you gotta wait a bit...
-
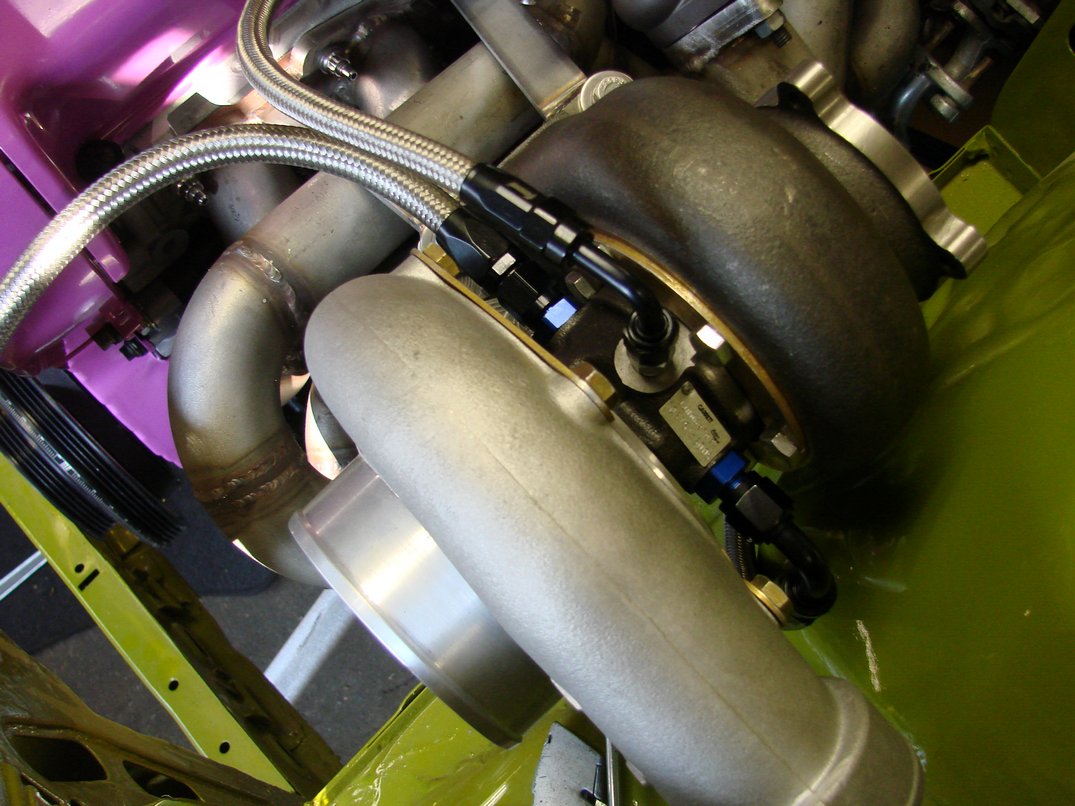
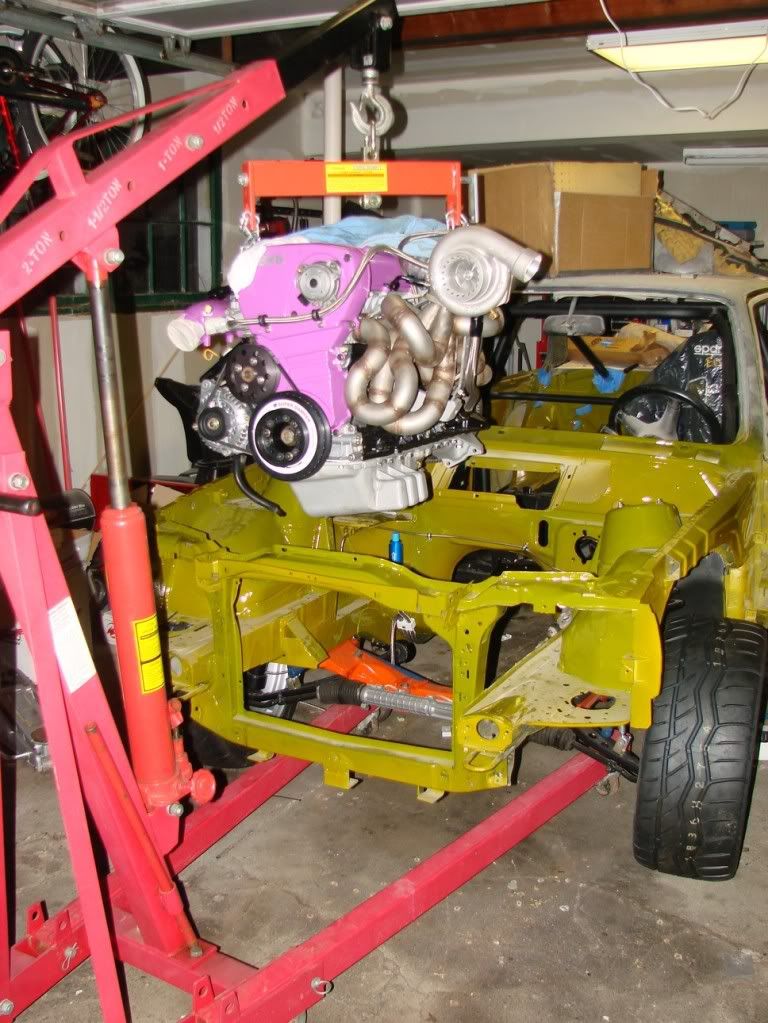
Large work was conducted above a machine, turbine very good! Successes in future!To many on Rb26 liked to put here such turbines!
1000hp!!!!
HKS
This is probably the best comment I have ever received in any of my build threads.
-
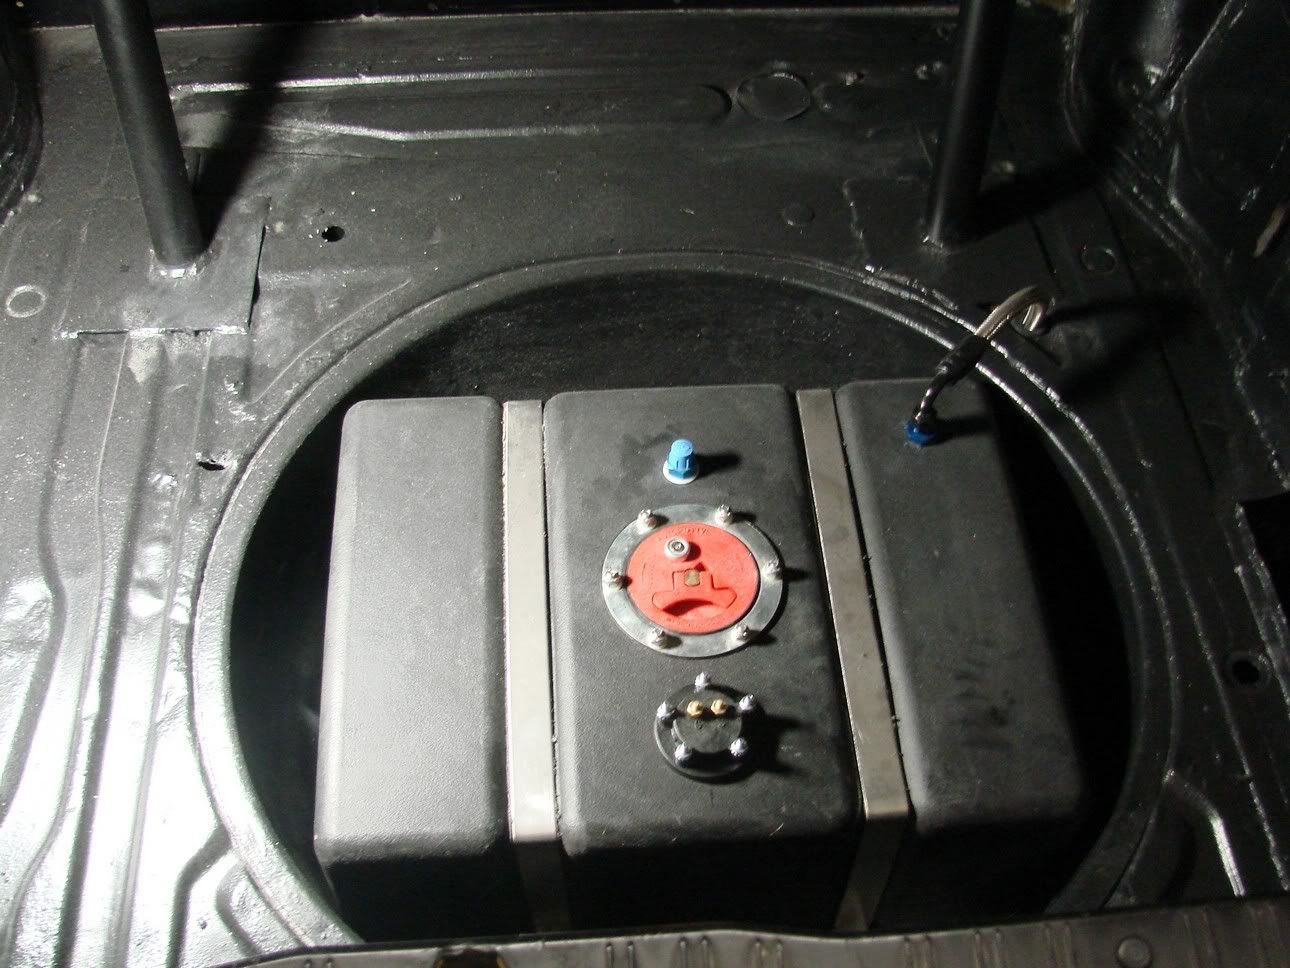
First thing I did was install the fuel tank level sending unit. Pretty straightforward.
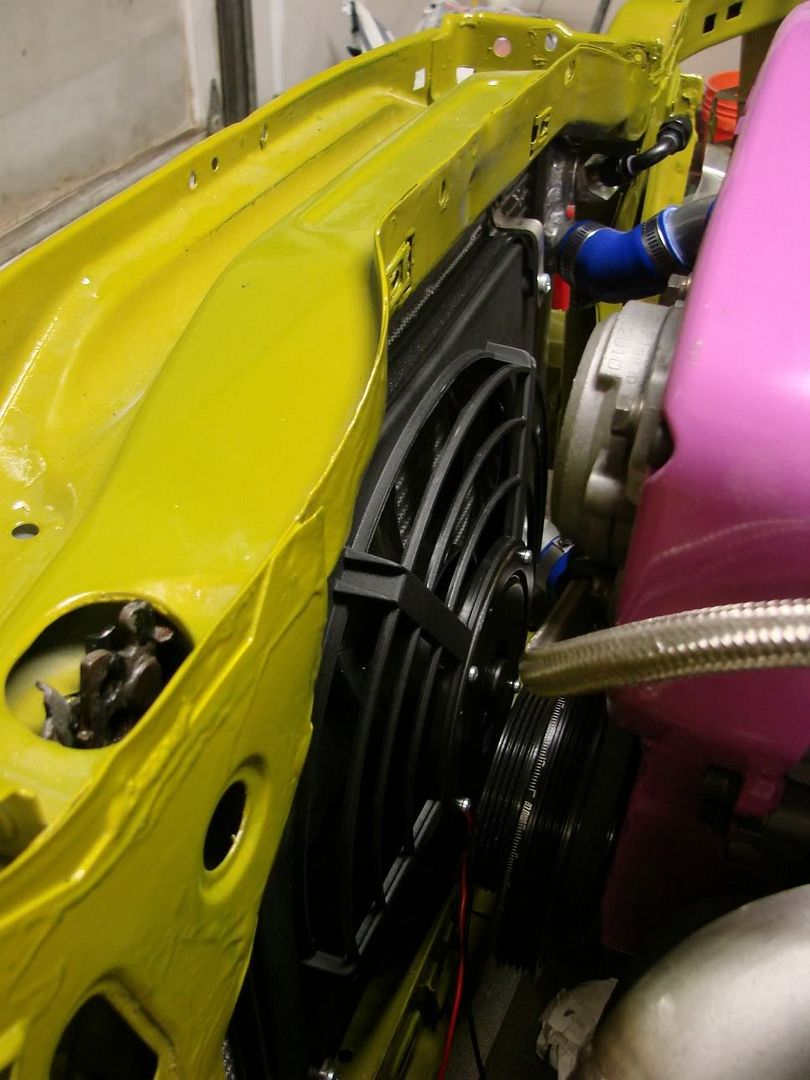
Radiator fan installed:
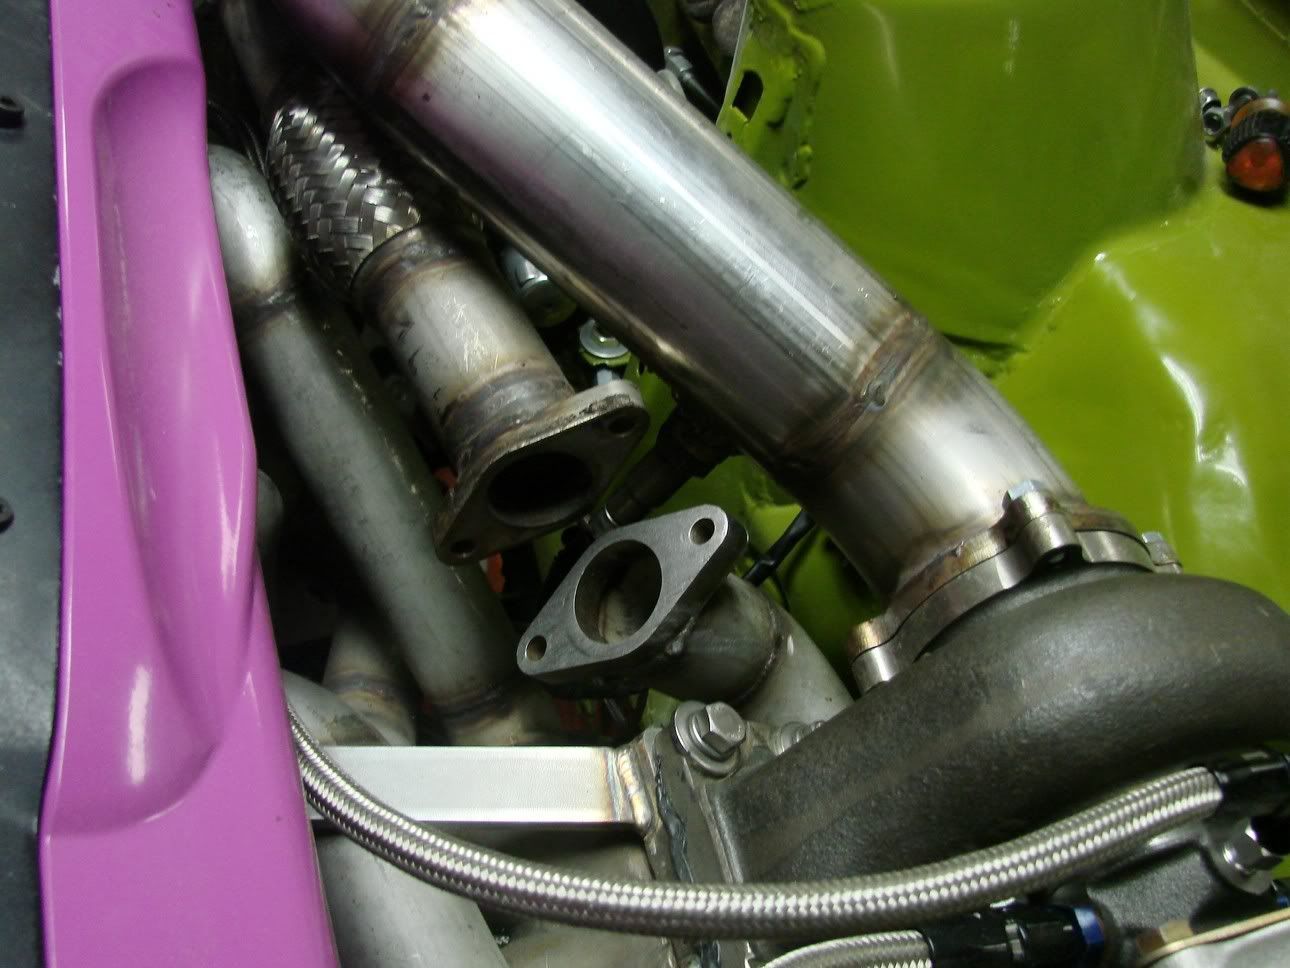
Wideband bung welded on:
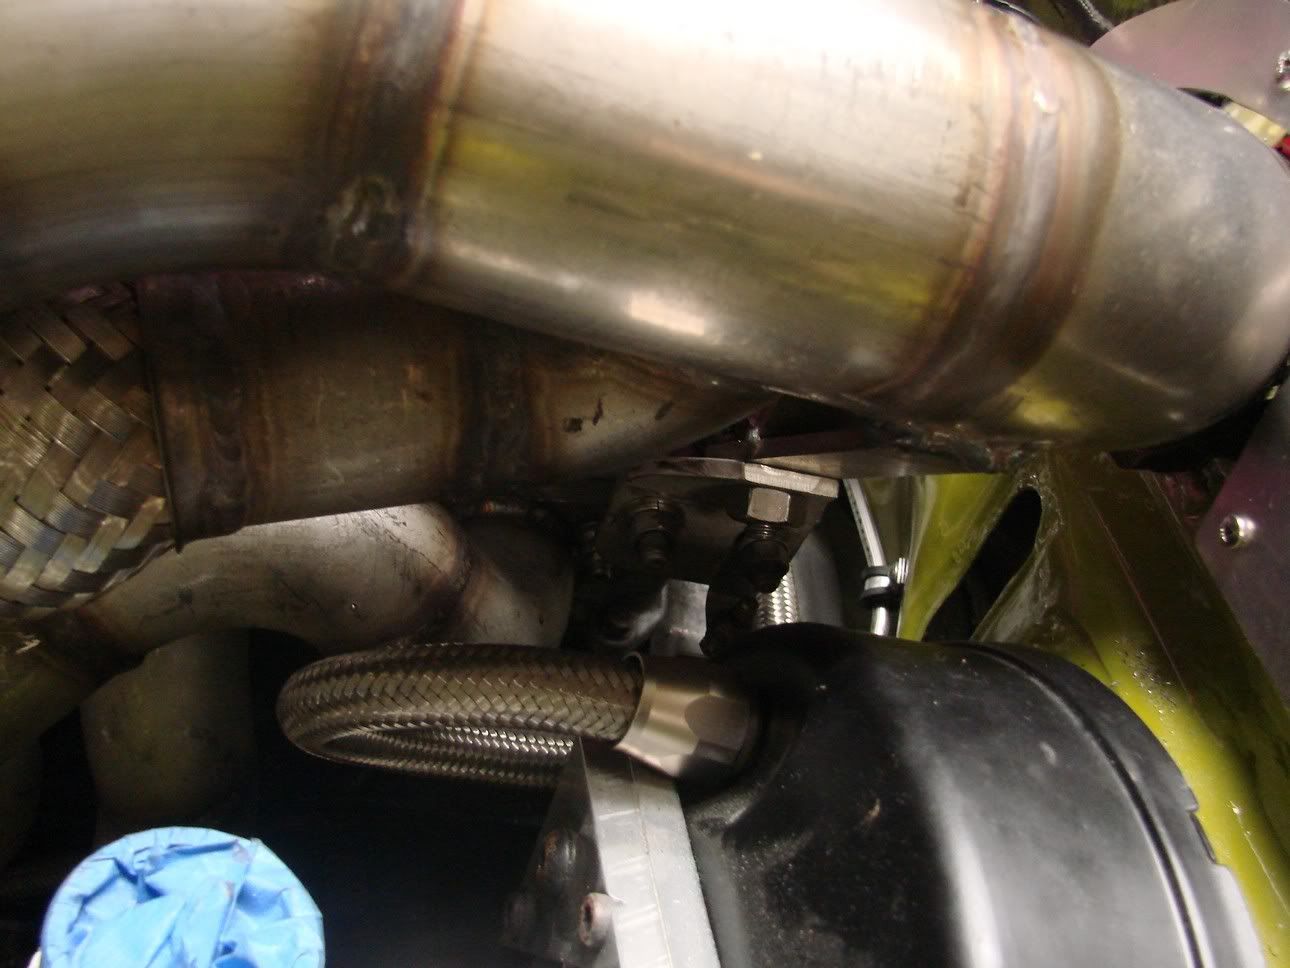
Spiffy downpipe bracing to motor:
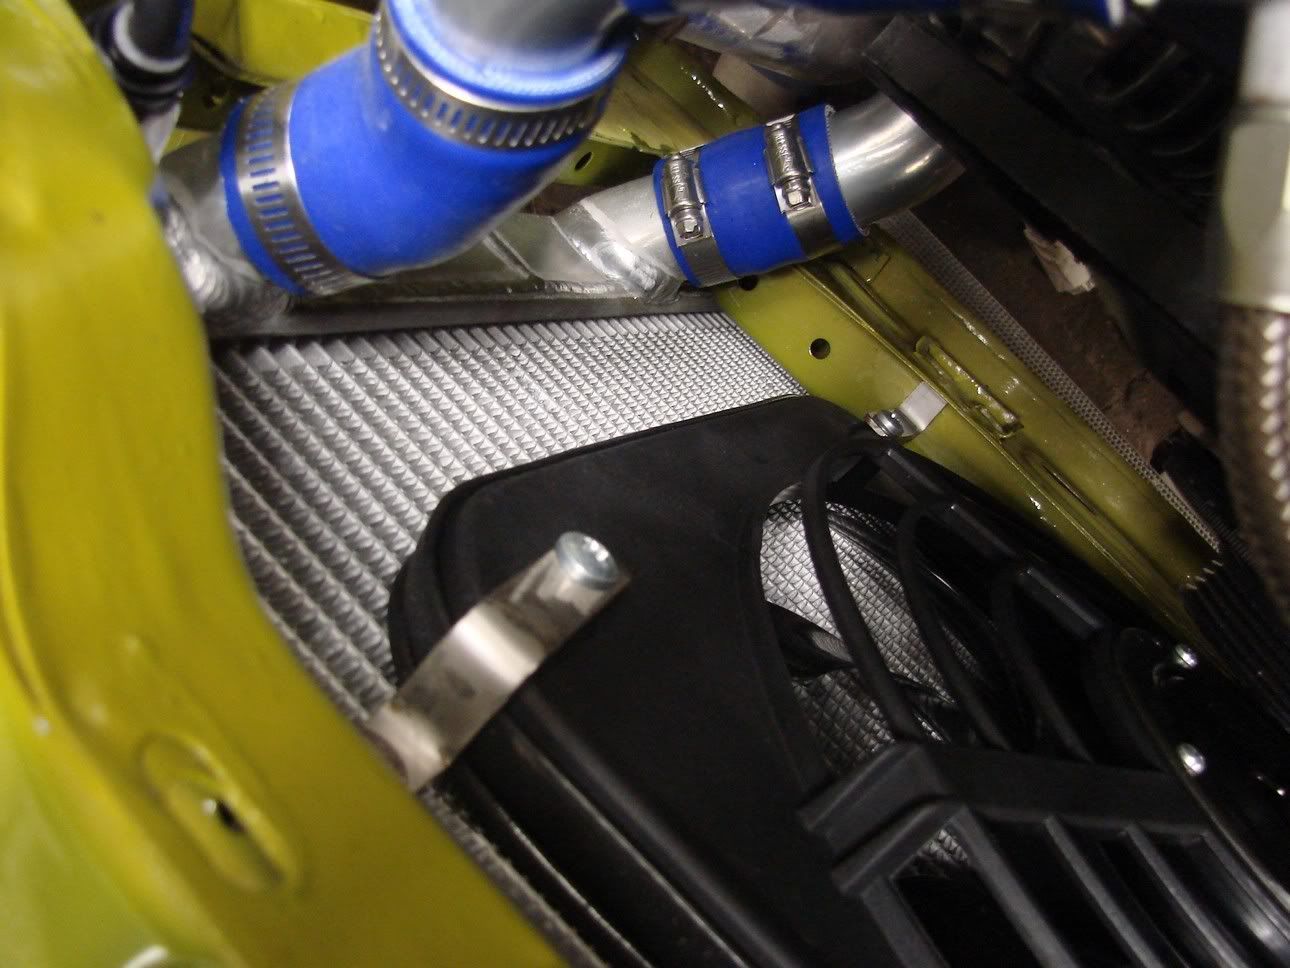
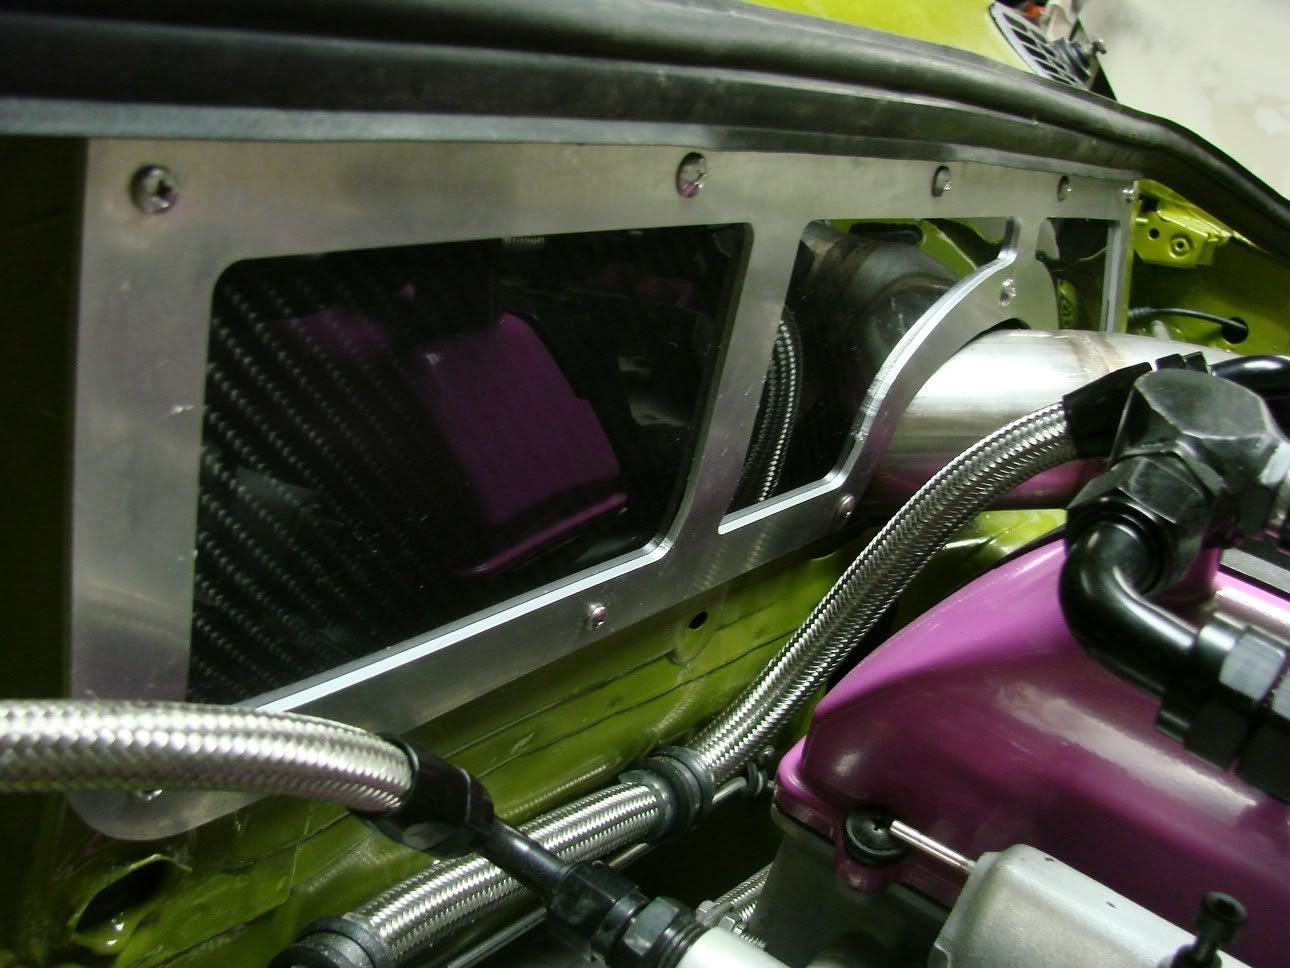
Lastly, and most awesomely, I made this closeoff out of laser cut aluminum and pre-preg carbon fiber.
-
Powdercoated coolant pipes installed, you can also see where I am going to weld the BOV flange on.
Steph's baffled catch can installed. You can kinda see how the lines route now. One more line comes from the bottom of the catch can to the exhaust scavenger, which will be after the WG return and flex section.
A shot of the line feeding the catch can and also notice the brake booster check valve installed in-line. Again, trying to keep it ultra clean looking, this time line mounts to firewall.
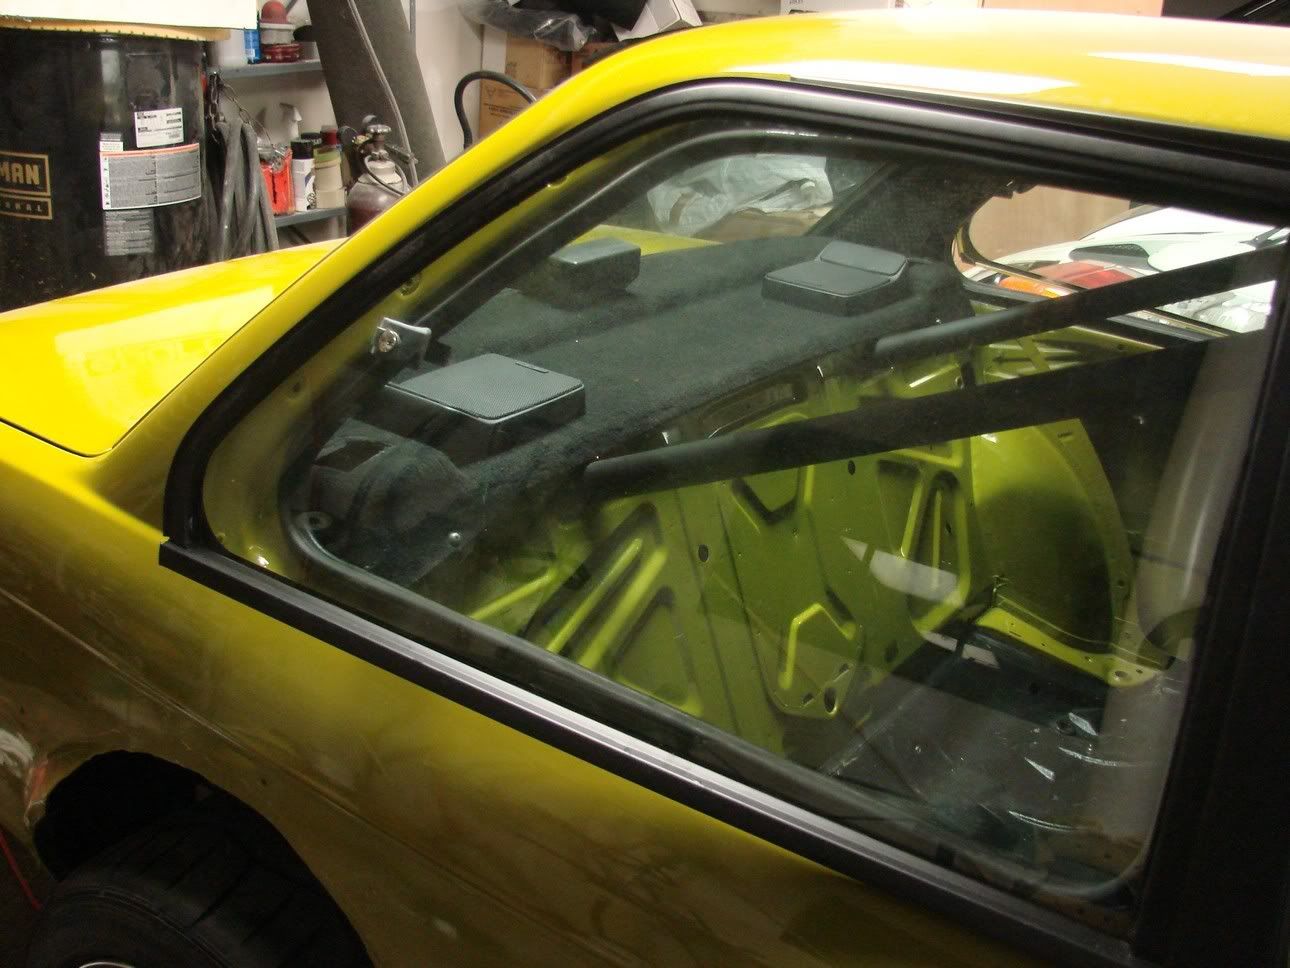
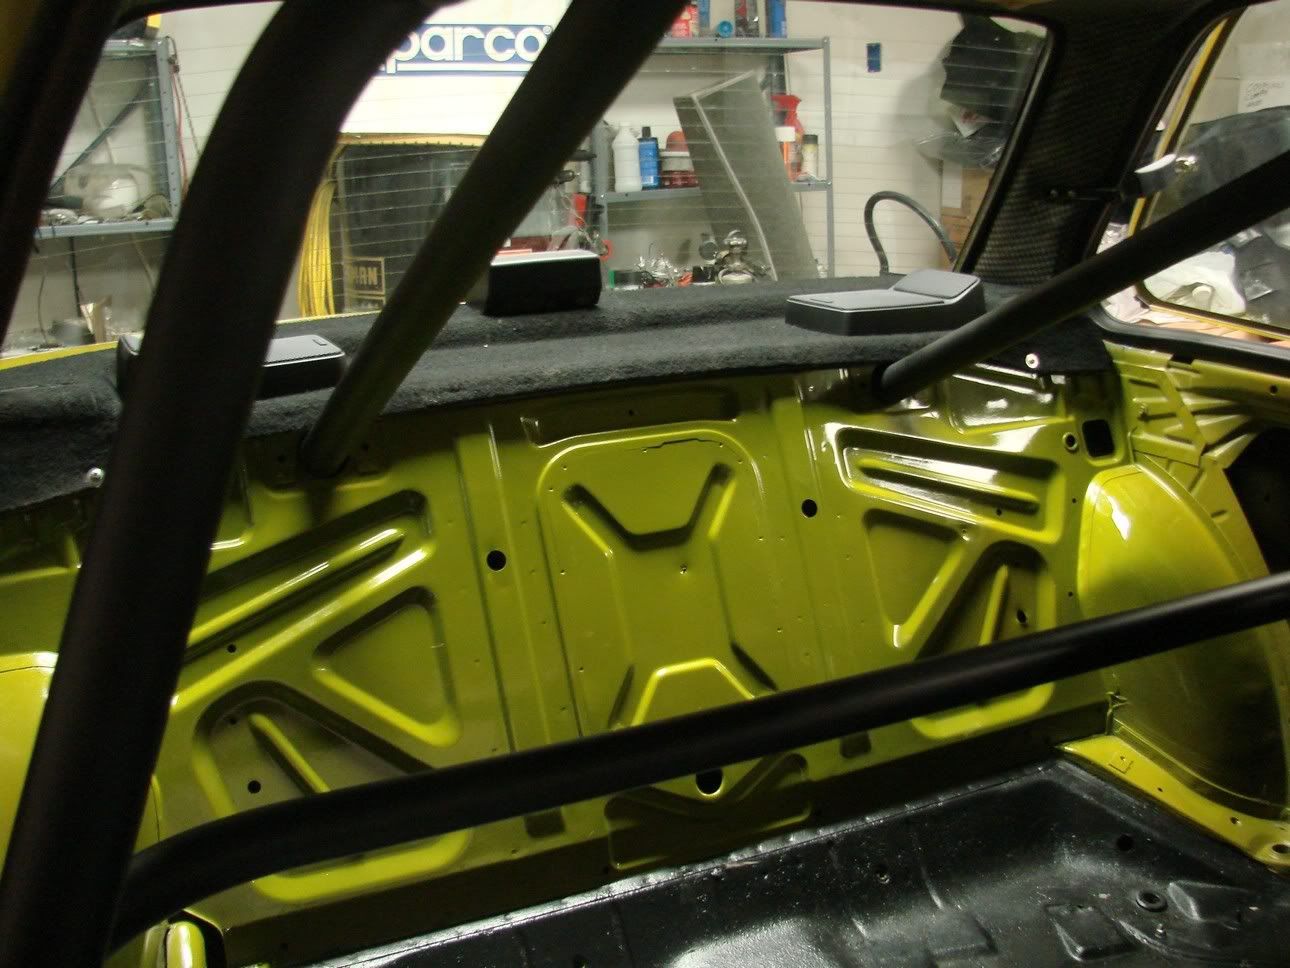
Rear PACKAGE TRAY dyed black and installed. Instead of factory mounting I simply chose to use 2 stainless self-tapping screws in the front and clips in the back.
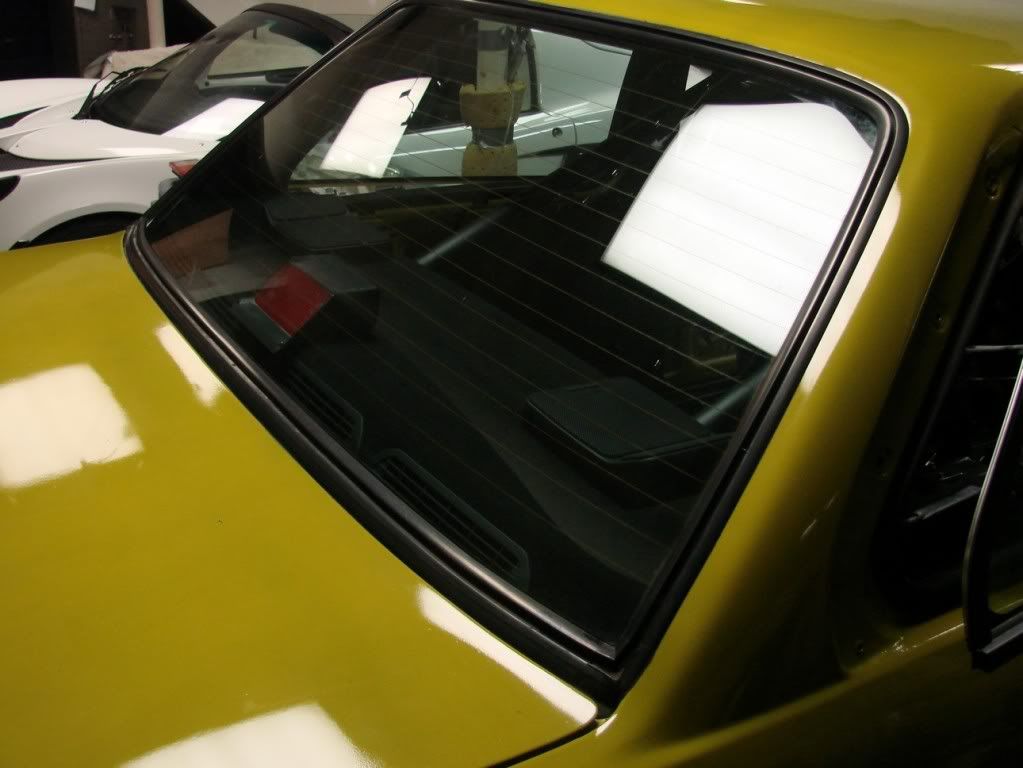
Lastly for tonight: Back Glass.
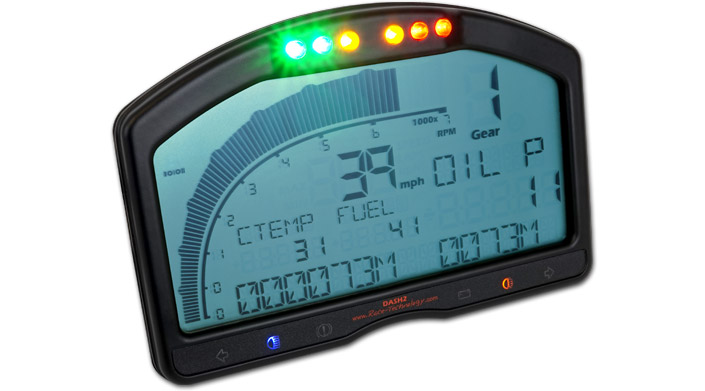
Just scooped up this, and the interface to communicate directly with AEM:
http://www.race-technology.com/dash2_2_31.html
And a fuel sender from summit. (Oh yeah and a 2.75 cent fitting that's backordered until october, LOL)
-
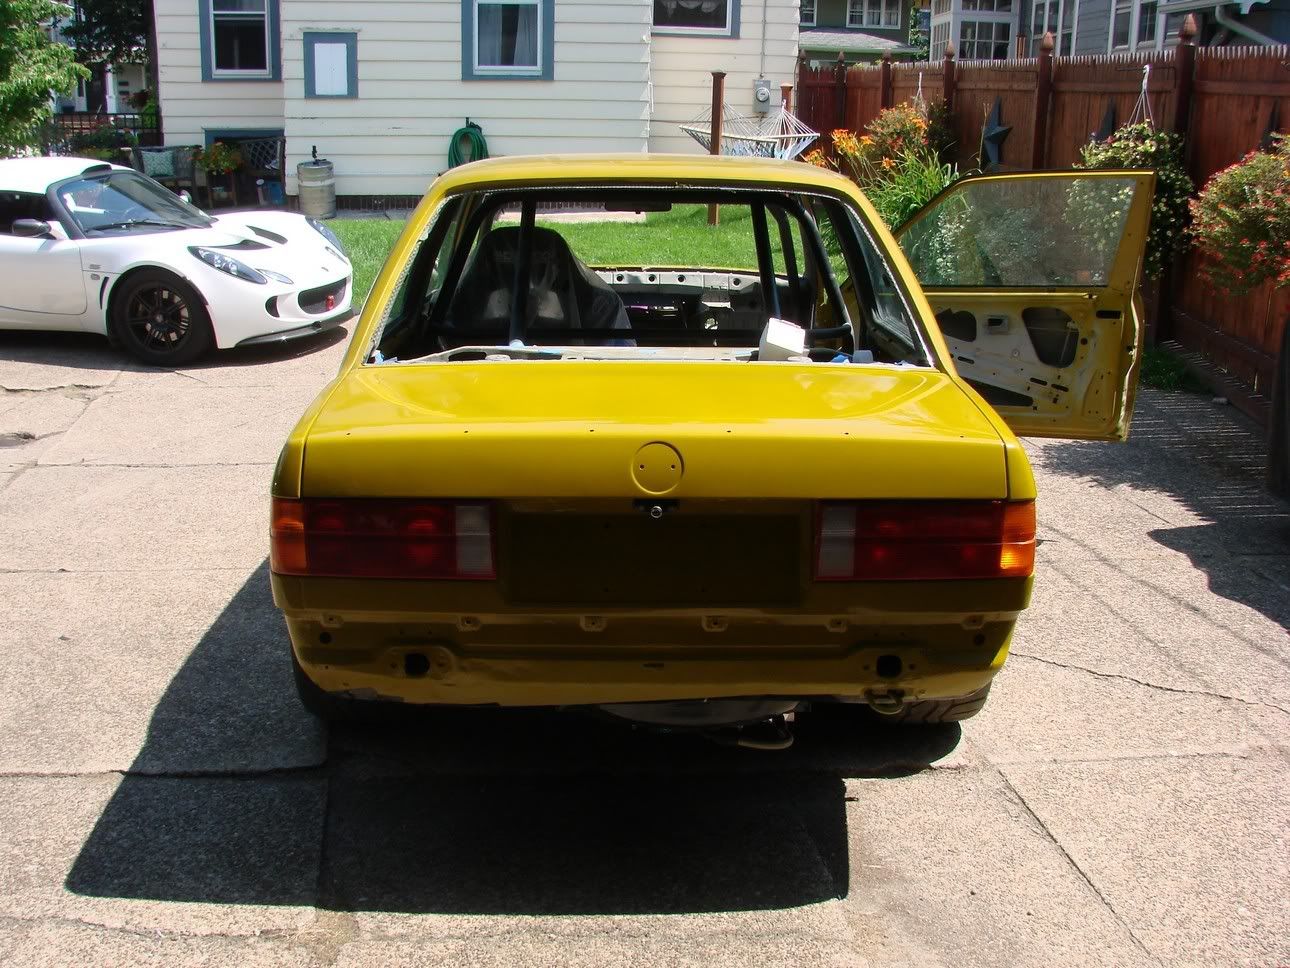
PHAT AZZ... (the apron has some black on it at a weird angle so it looks crooked, but it all gets covered by the rear valence) Also got the trunk latch and tails installed. Looks like a fox notch hahah.
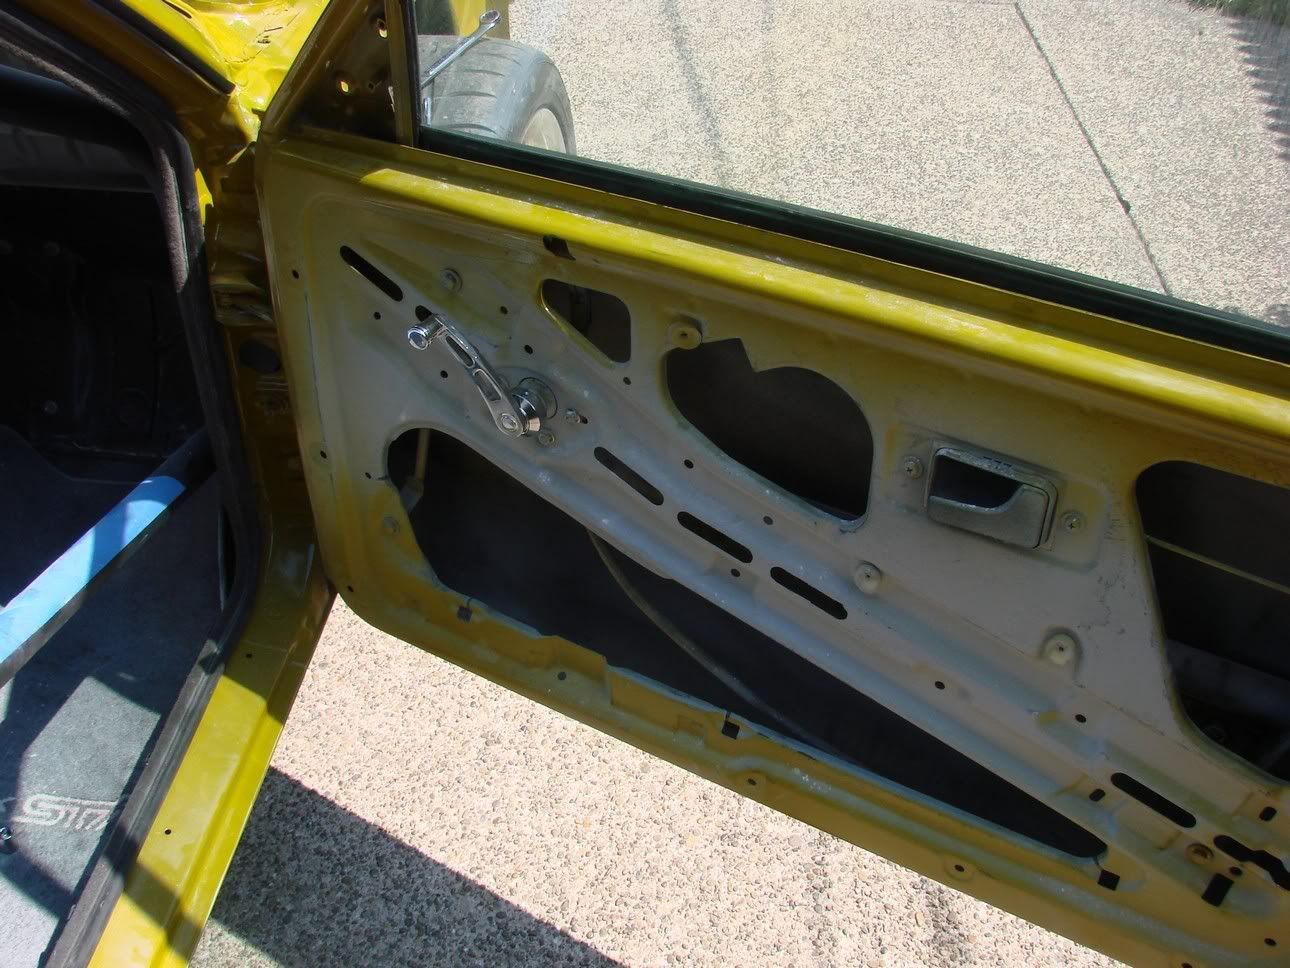
A shot of the CHROME BILLET WINDOW CRANK$$$ installed (23 bucks from summit)
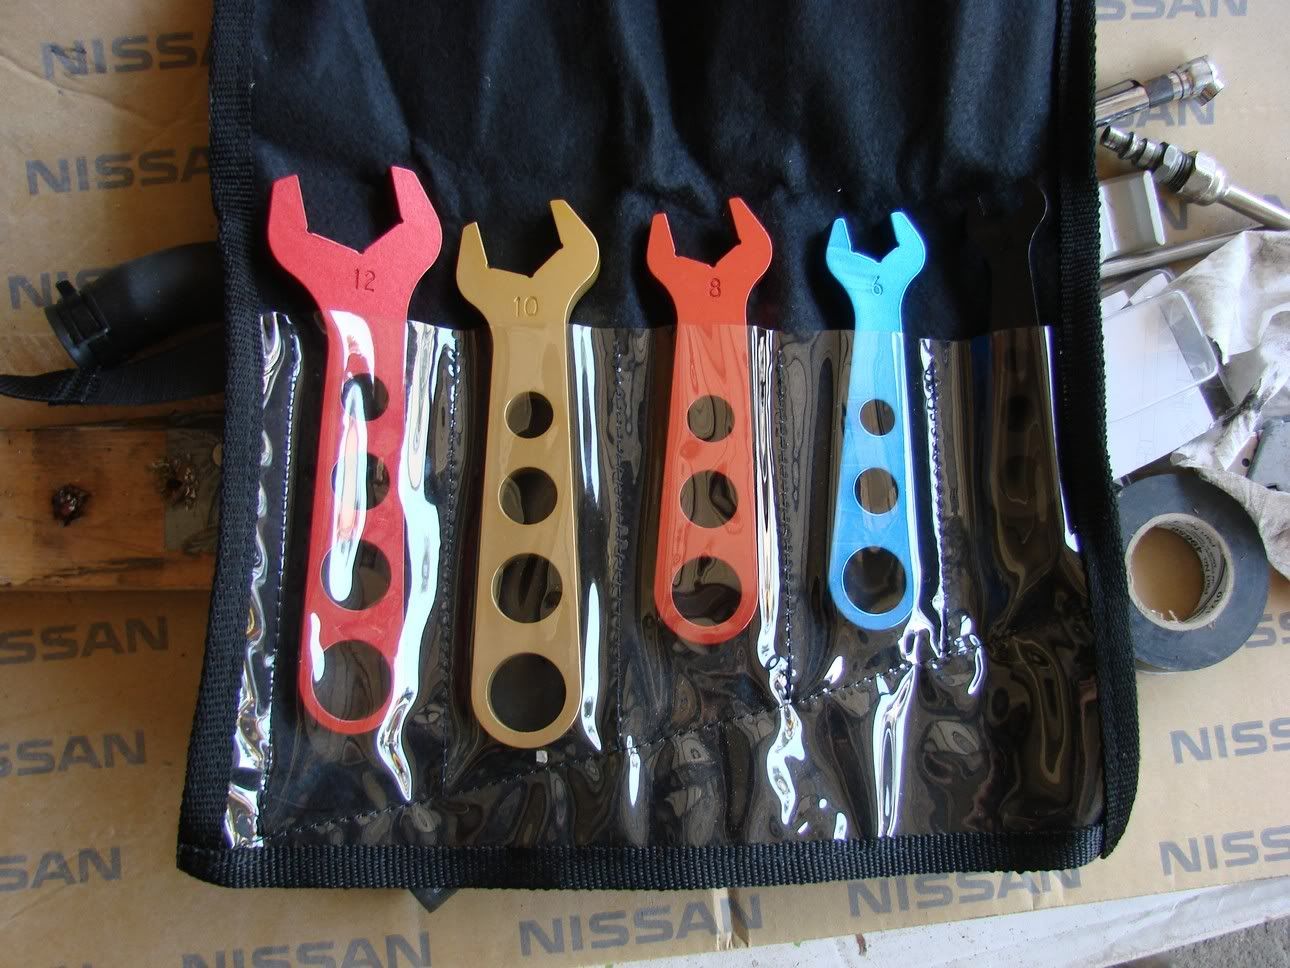
And FINALLY got a set of these. SOOOO much better than a crescent wrench with electrical tape on it.
Also summit racing must hate that I keep adding shit to this order over and over. Check out all those different ship dates, all on 11.95 handling.
Nah, they probably love me...
Look at all this other shit I ordered.
Added a line clamp for the oil feed line and installed the EGT fitting into the manifold. The schedule 10 should be thick enough to not weld a bung on there, time will tell.
-
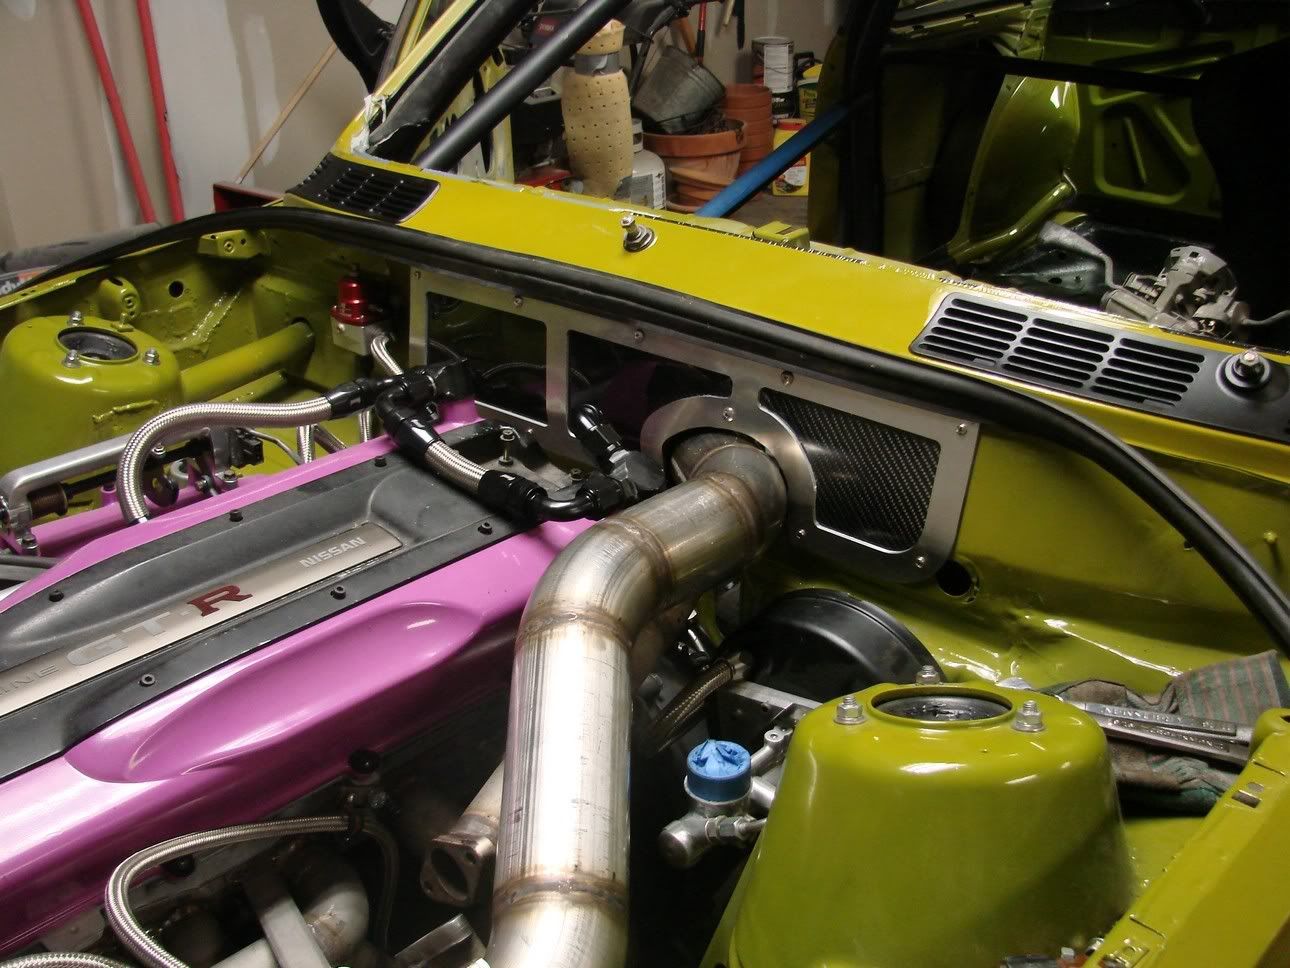
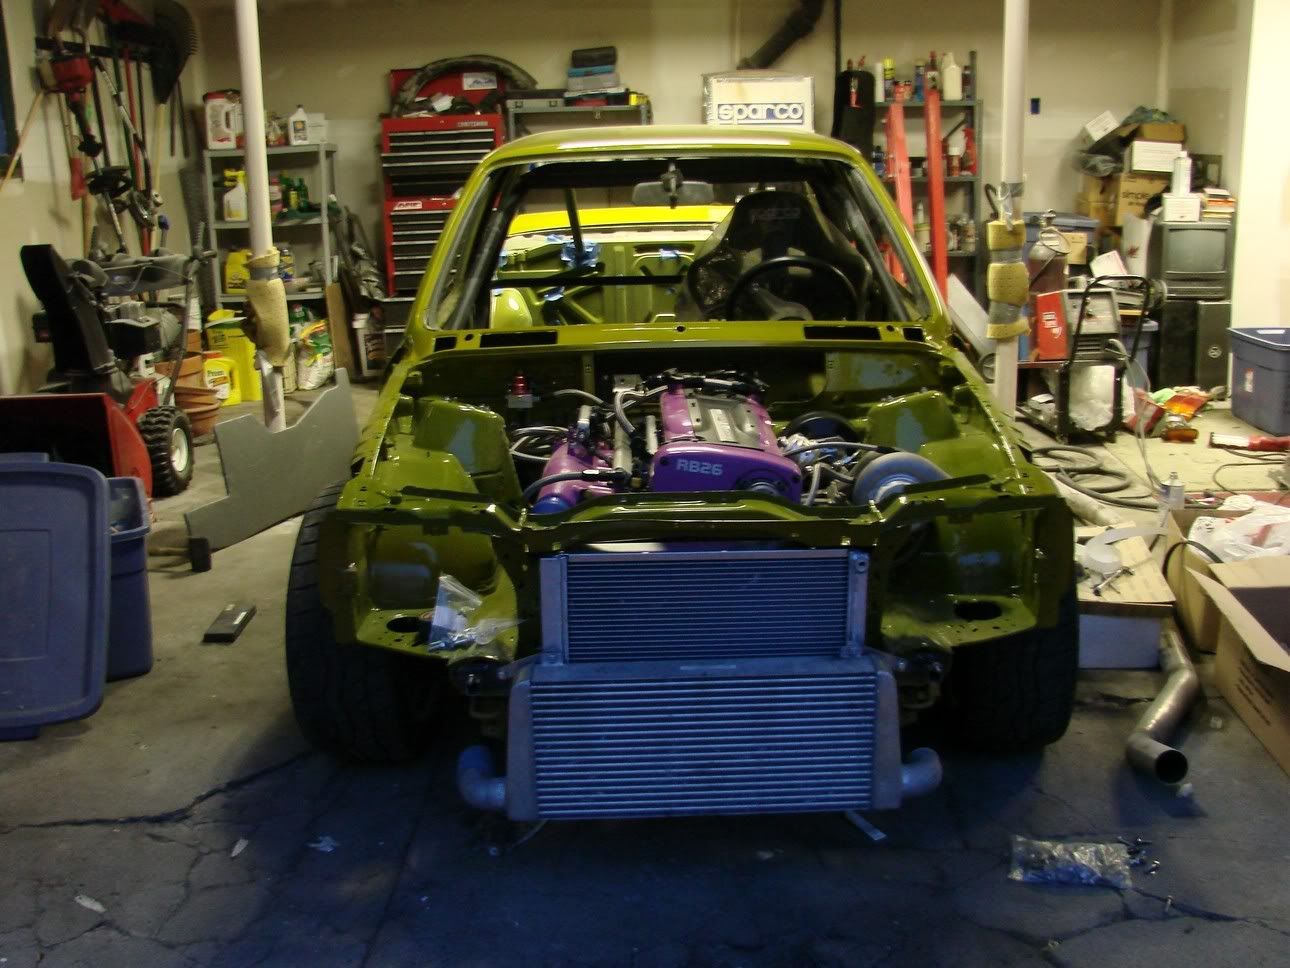
Shot of the intercooler and radiator installed (temporarily):
Then I started installing the window gaskets and some of the trim. The trim is actually blacked out with vinyl, which is a pretty popular way to do it. It looks really good:
Lastly, I made and installed some AN lines to be used with my PCV vacuum setup. That unaatached line will go to a catch can, then into the exhaust evacuator.
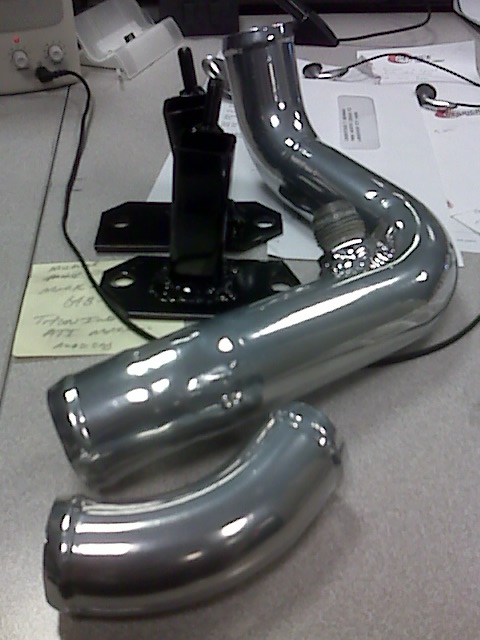
Got my coolant pipes coated in brushed aluminum PC and my bumper brackets in black.
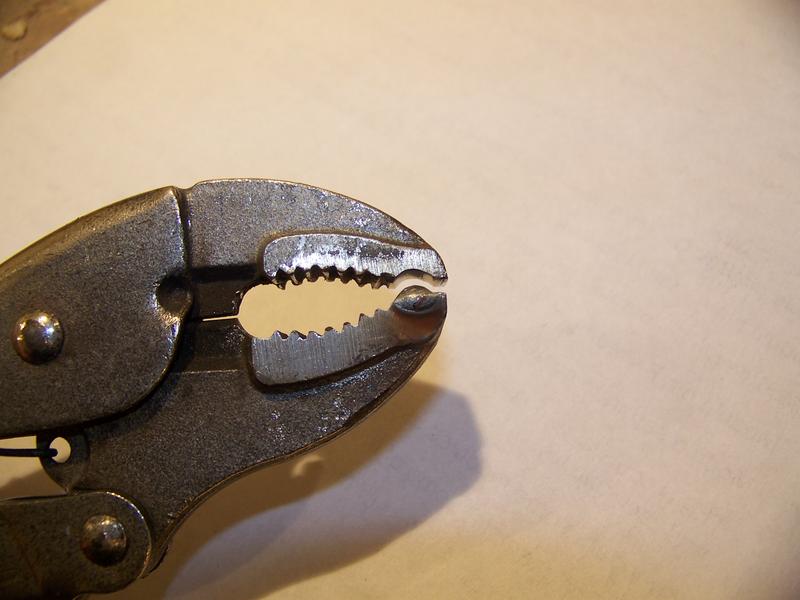
I put a bead on the pipes with these vice grips I modified. Got the idea from Dan (JUICEDZ4)... In fact that's actually his pic... but mine are nearly identical.
Check out his AWESOME cavalier build here. I know it's a Cavalier, but check it out, it's unreal.
I bought some cheap summit racing window cranks and machined an adapter to run them on my gutter power window housings.
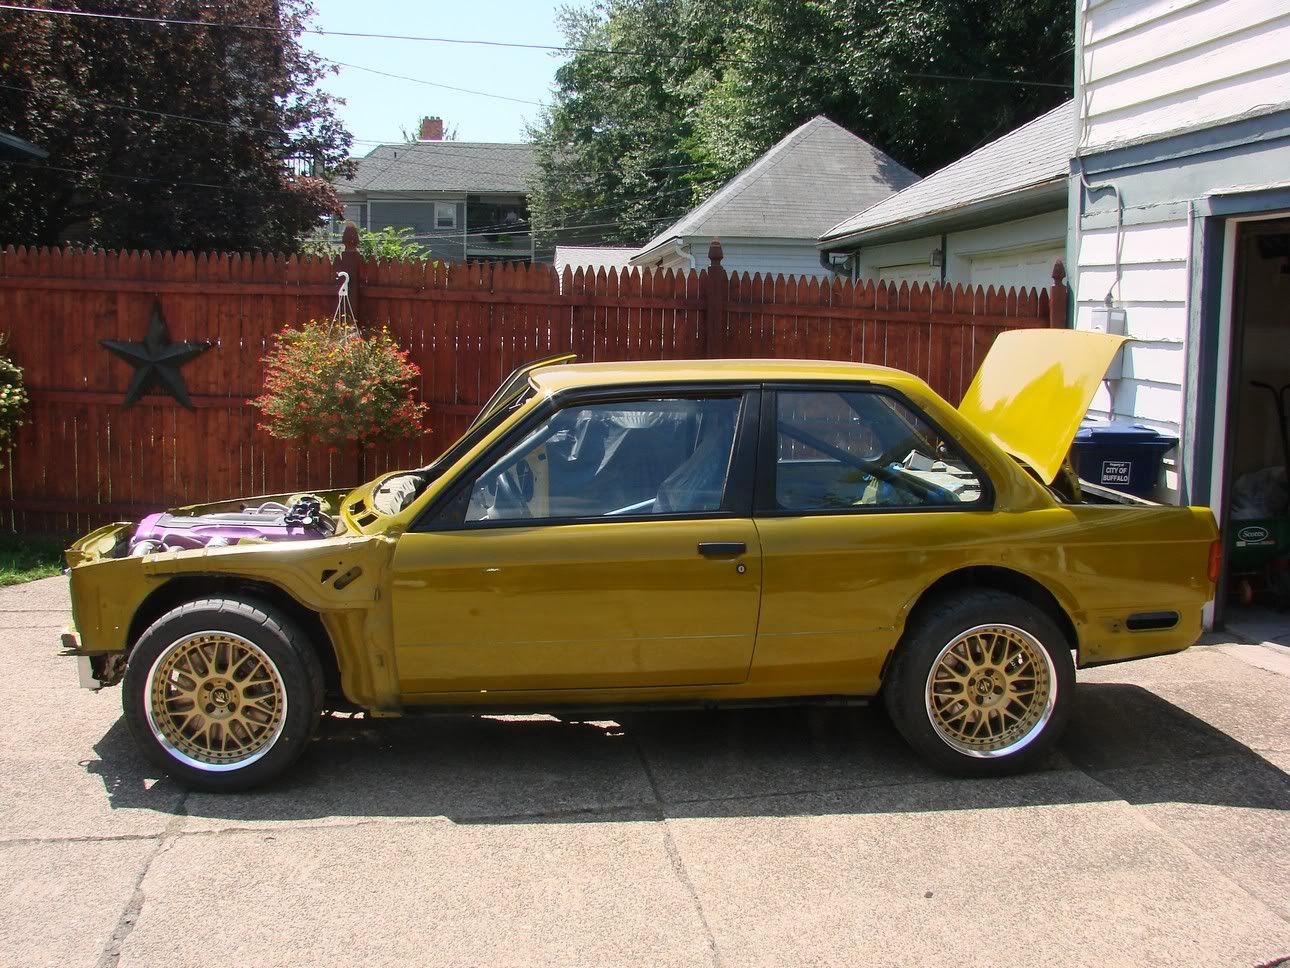
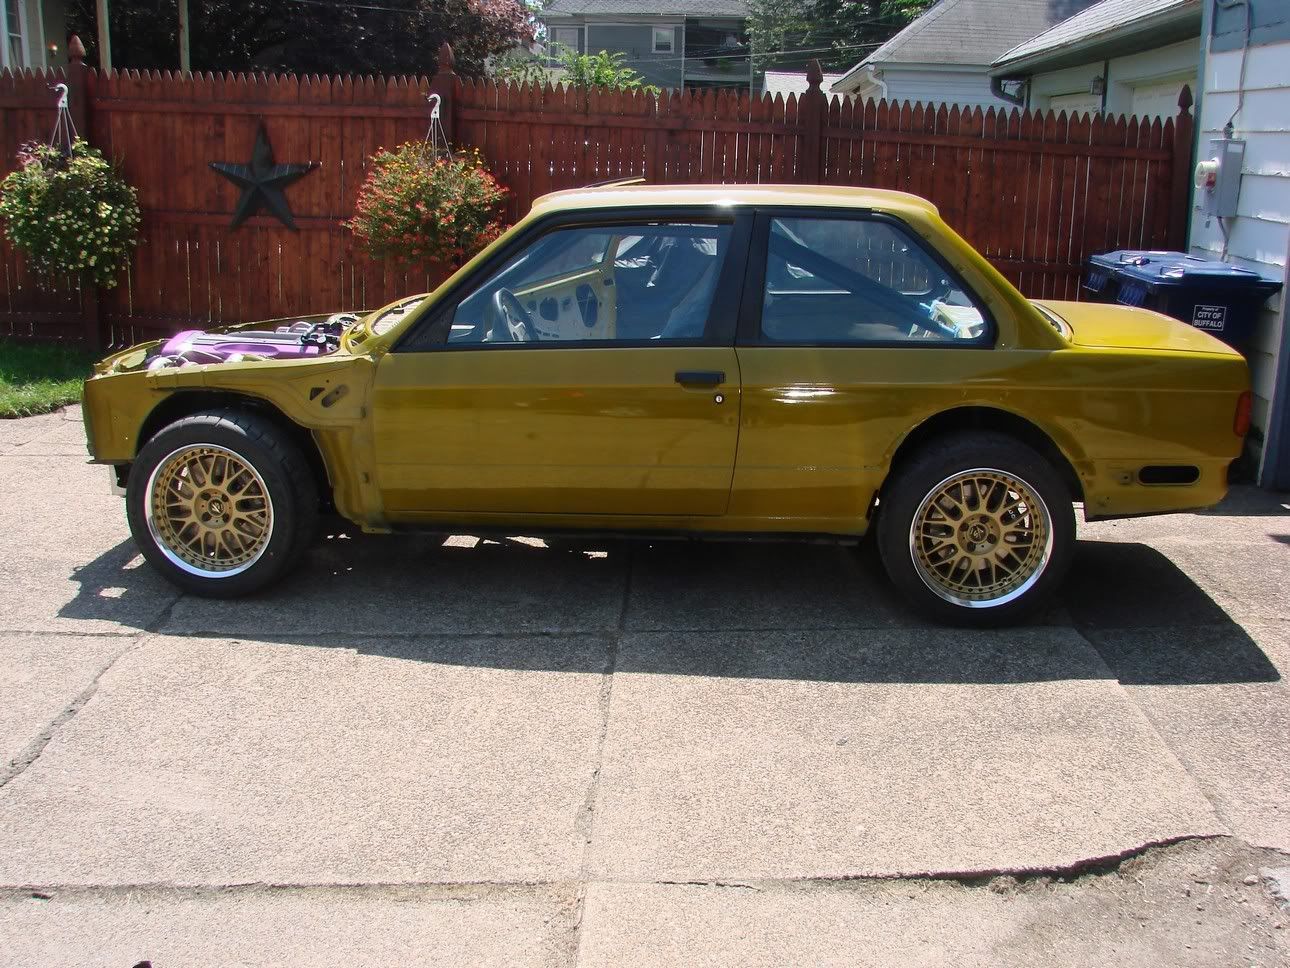
More shots of the outside. It's even more yellow than it appears in photos. Very odd color indeed. 4/6 windows are in. As is BLACKED OUT TRIM
-
Haven't updated this in FOREVER:
hellz yeah
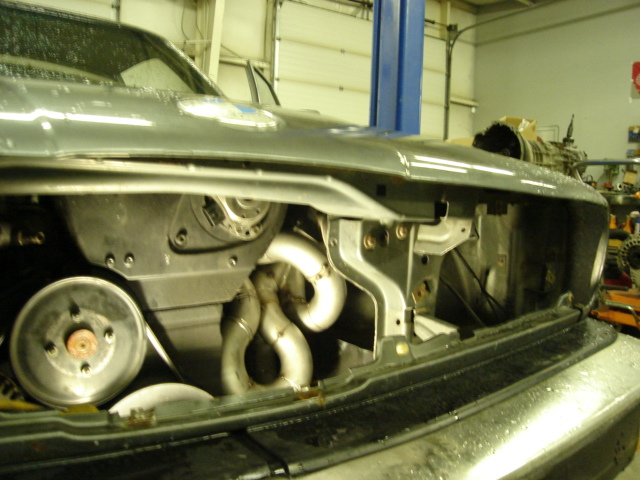
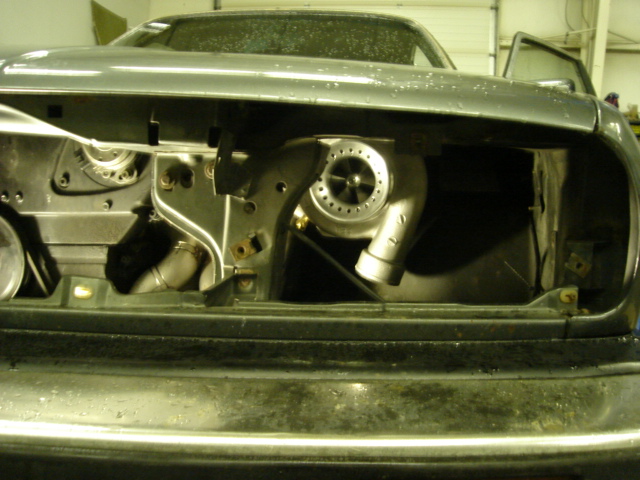
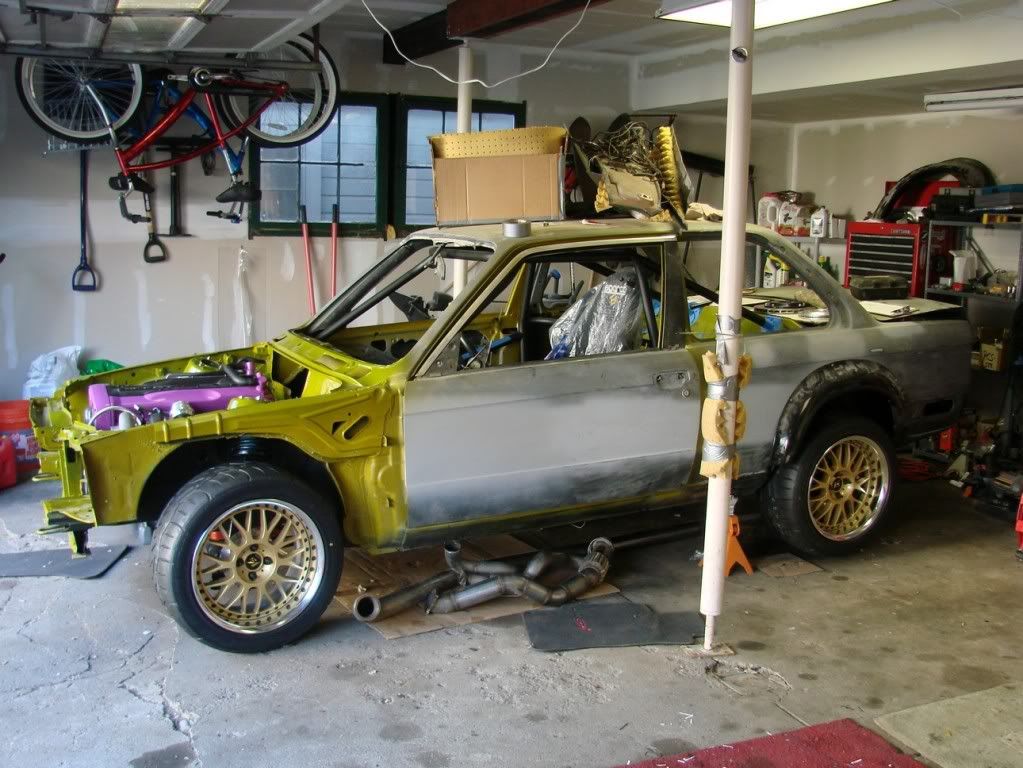
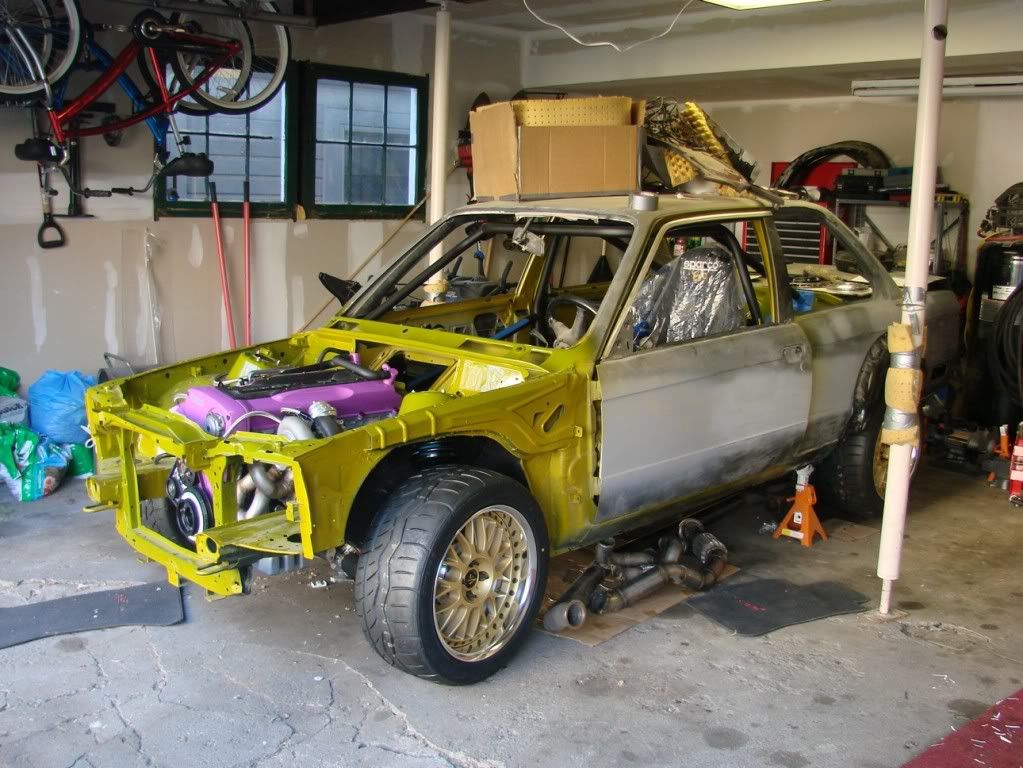
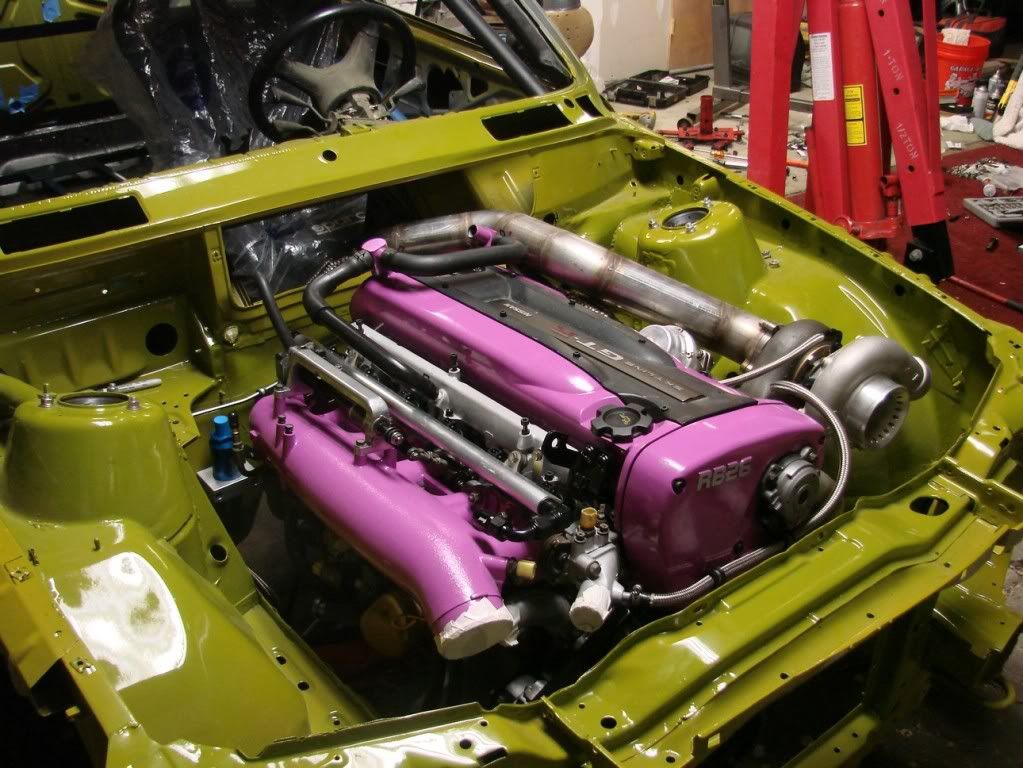
First, some day shots of the car. Looks a lot different, huh?
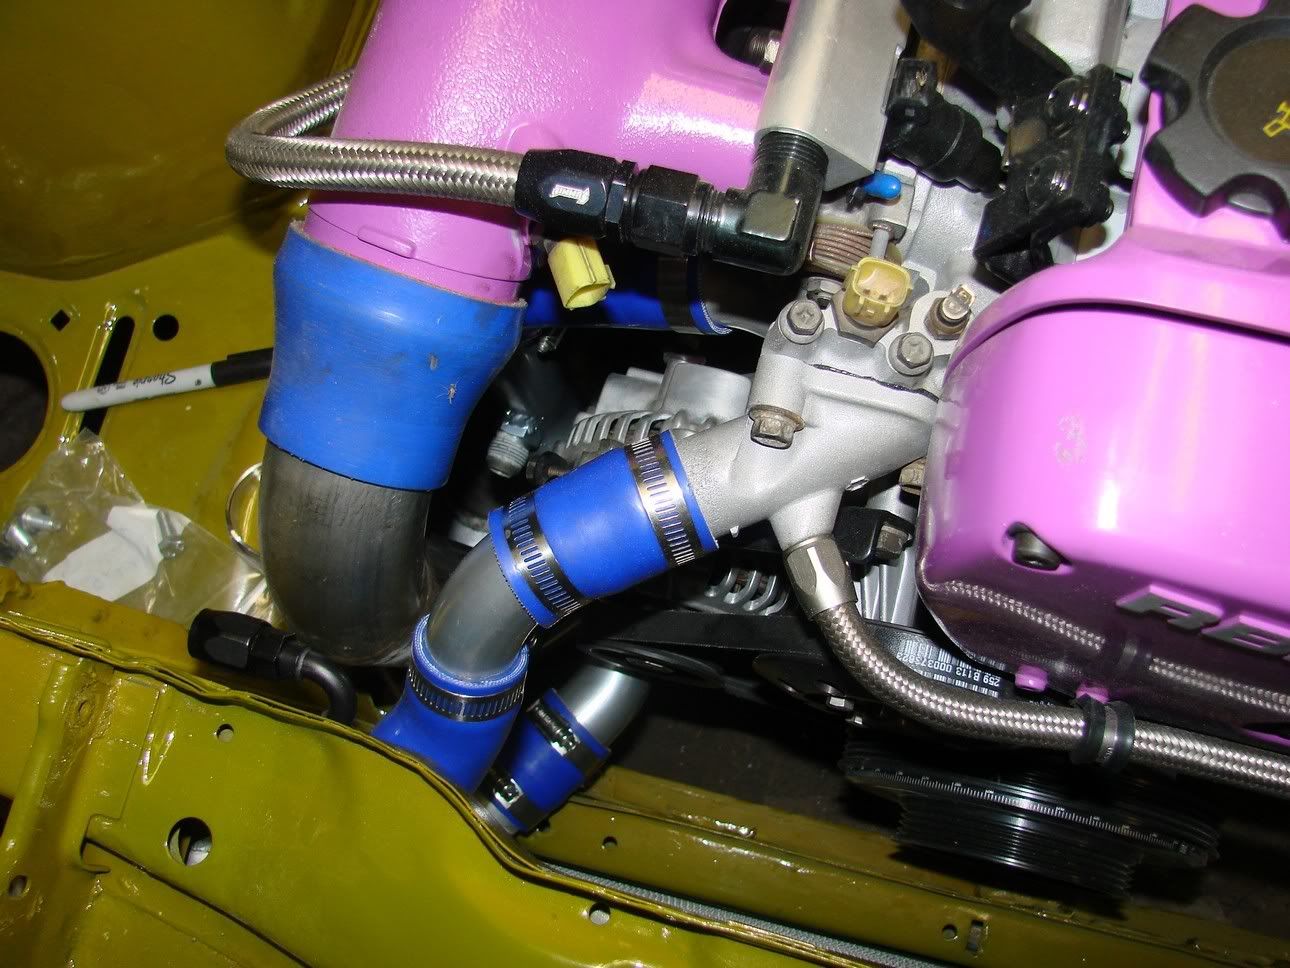
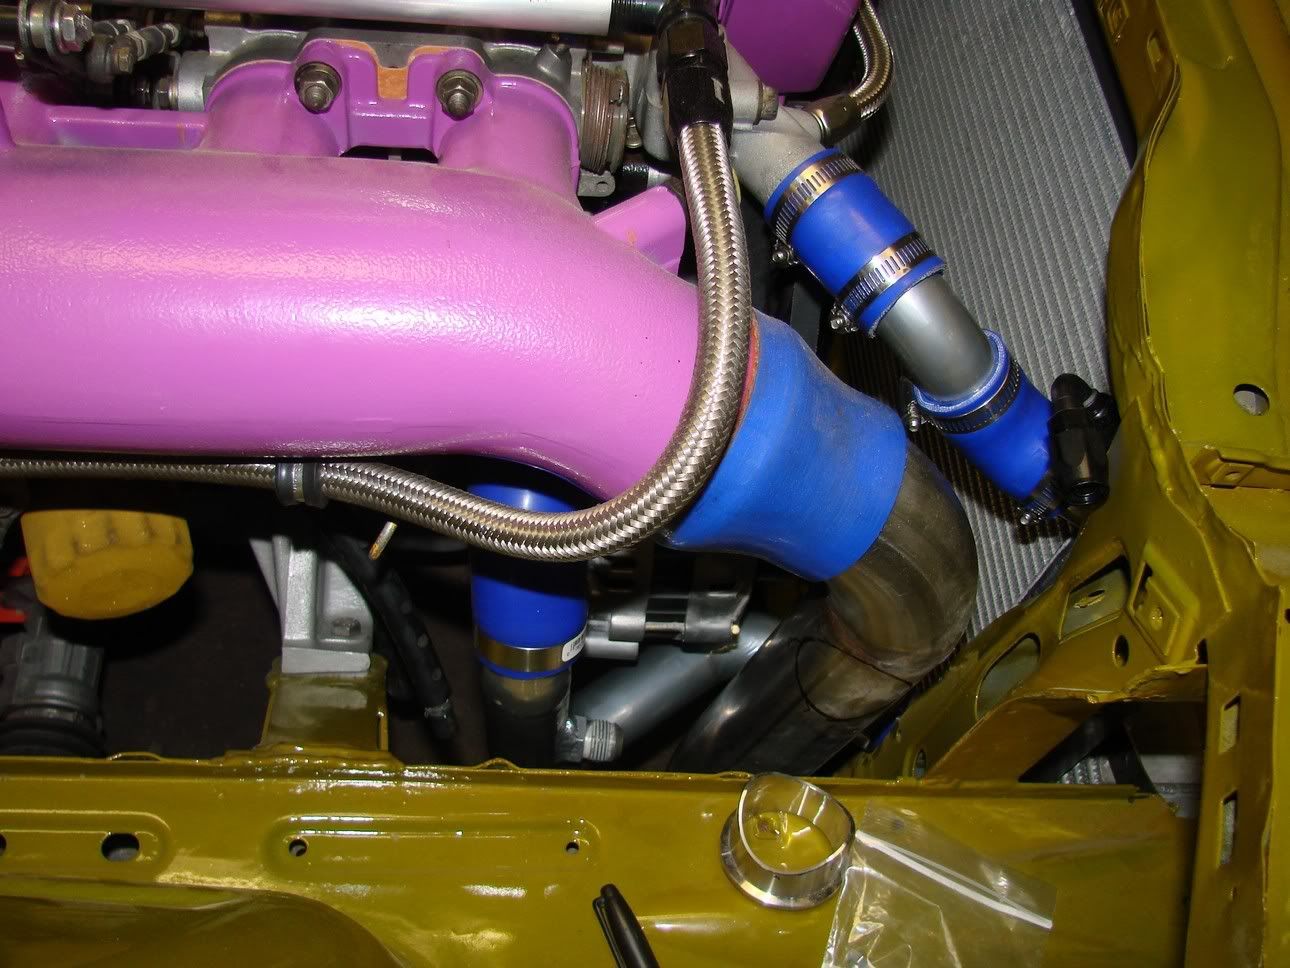
Next I made some coolant pipes (i installed the IC piping to ensure clearance)
-
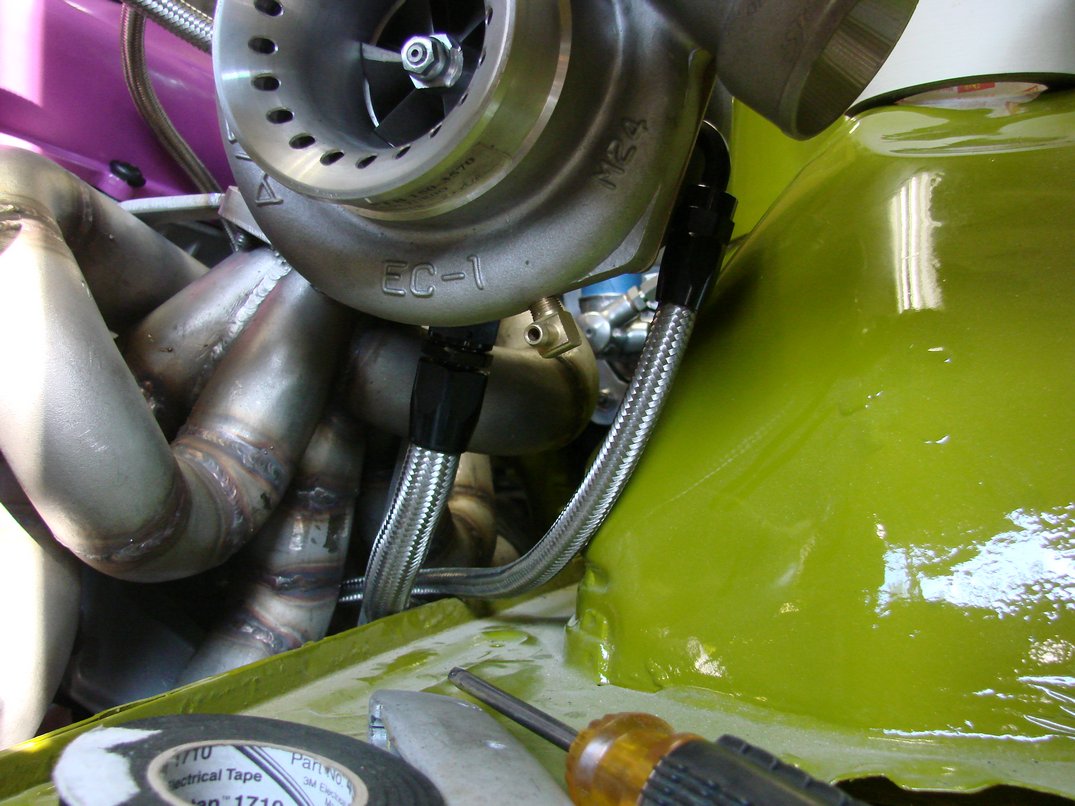
Amazing! Im sure you will as it seems you miss nothing. But im assuming your going to clamp that hose on the right away somewhere? Itl rub through in a matter of weeks sitting on that seam in the bodywork! (Pic of lines under Turbo compressor by the "M24" casting)
Yeah, that's why I said:
"I still have to do something with this coolant line."
In the pic's caption.
I'll probably butterfly it to the drain line and glue some vacuum tubing to the seam.
-
http://onyxsyndicate.com/newman/e30gtr/e30gtr_88.html
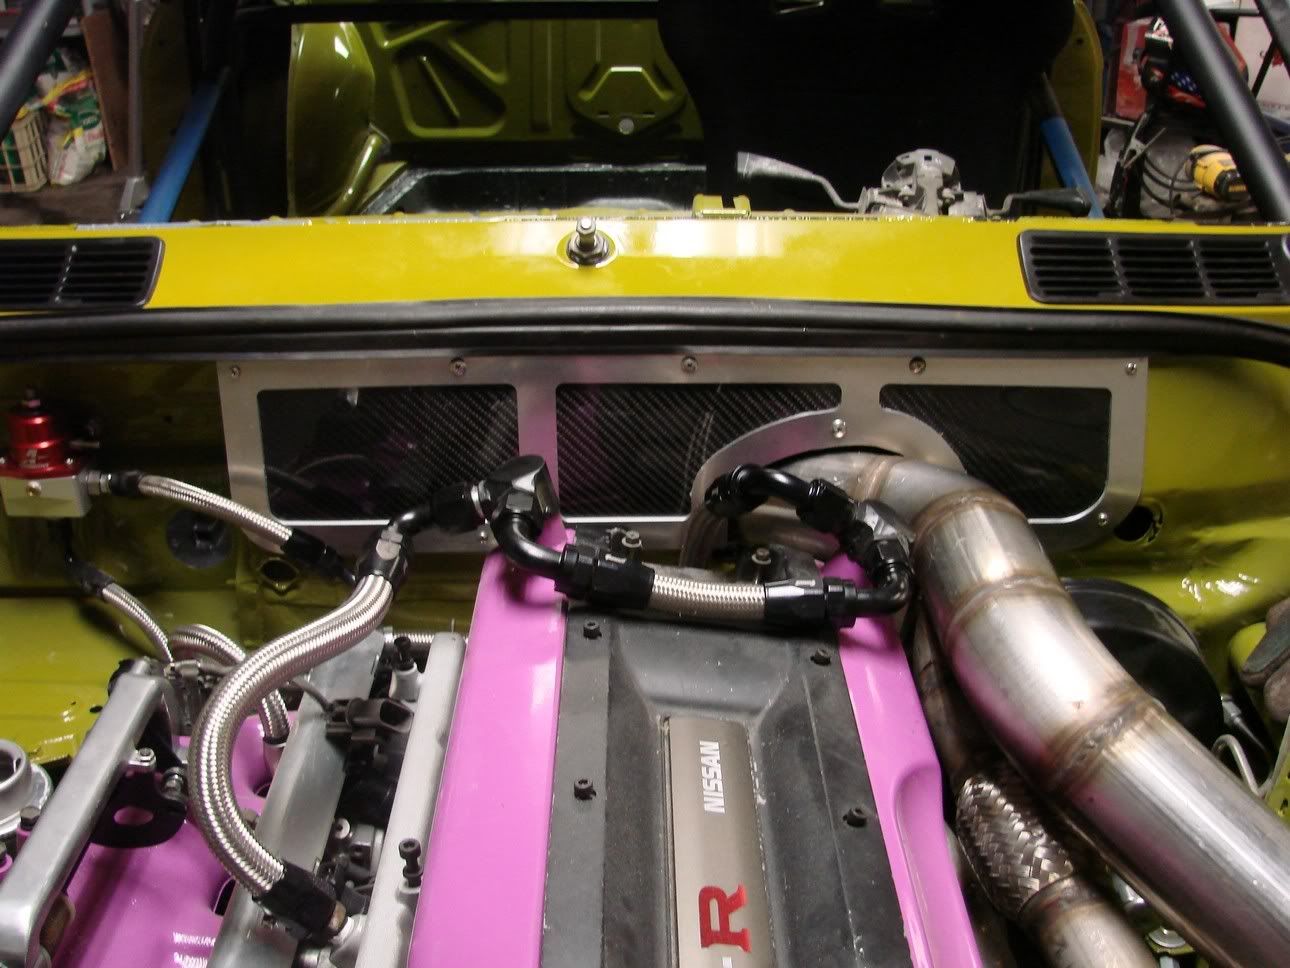
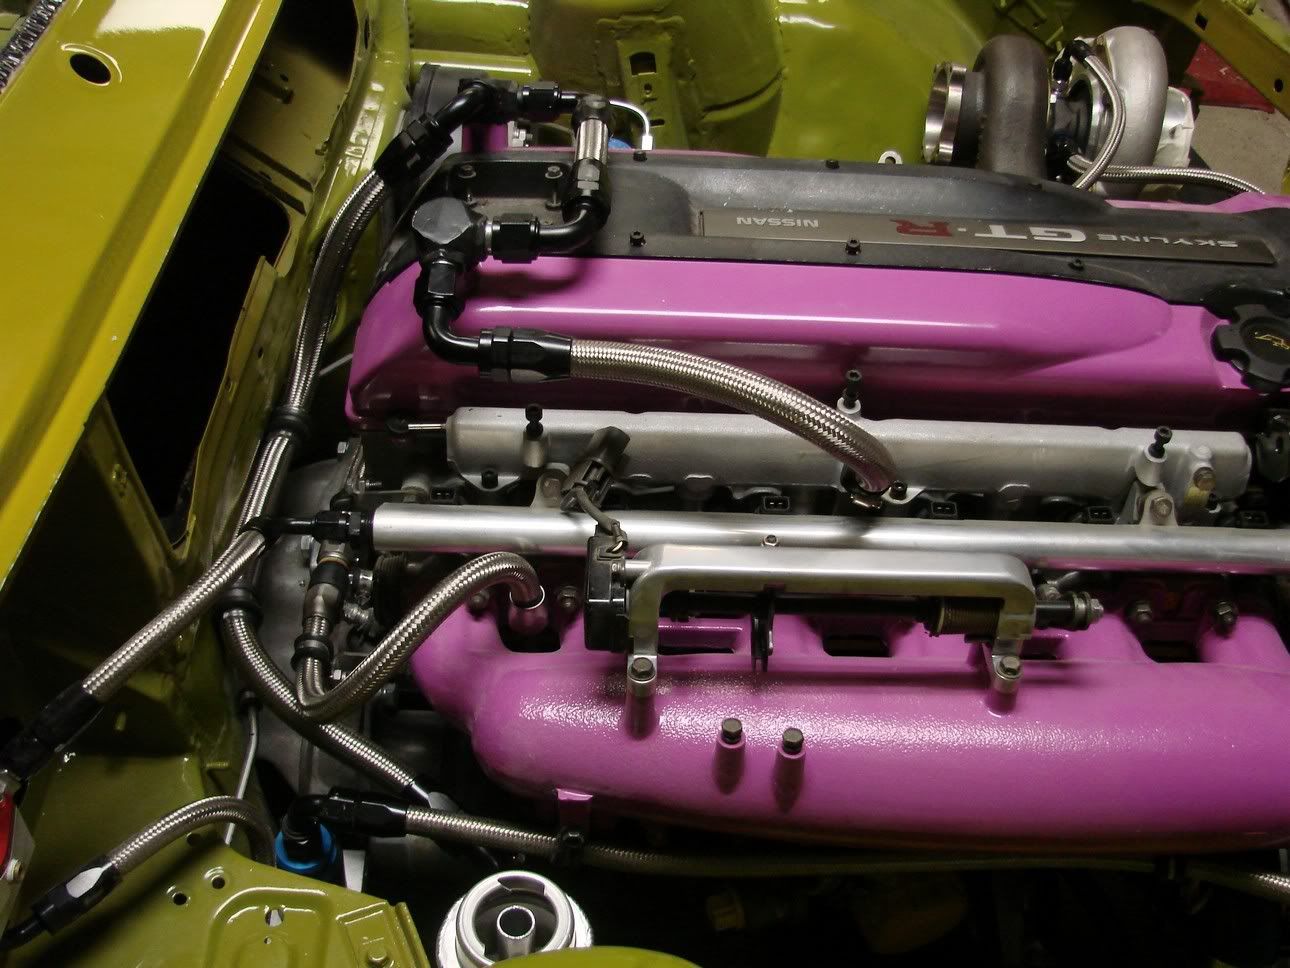
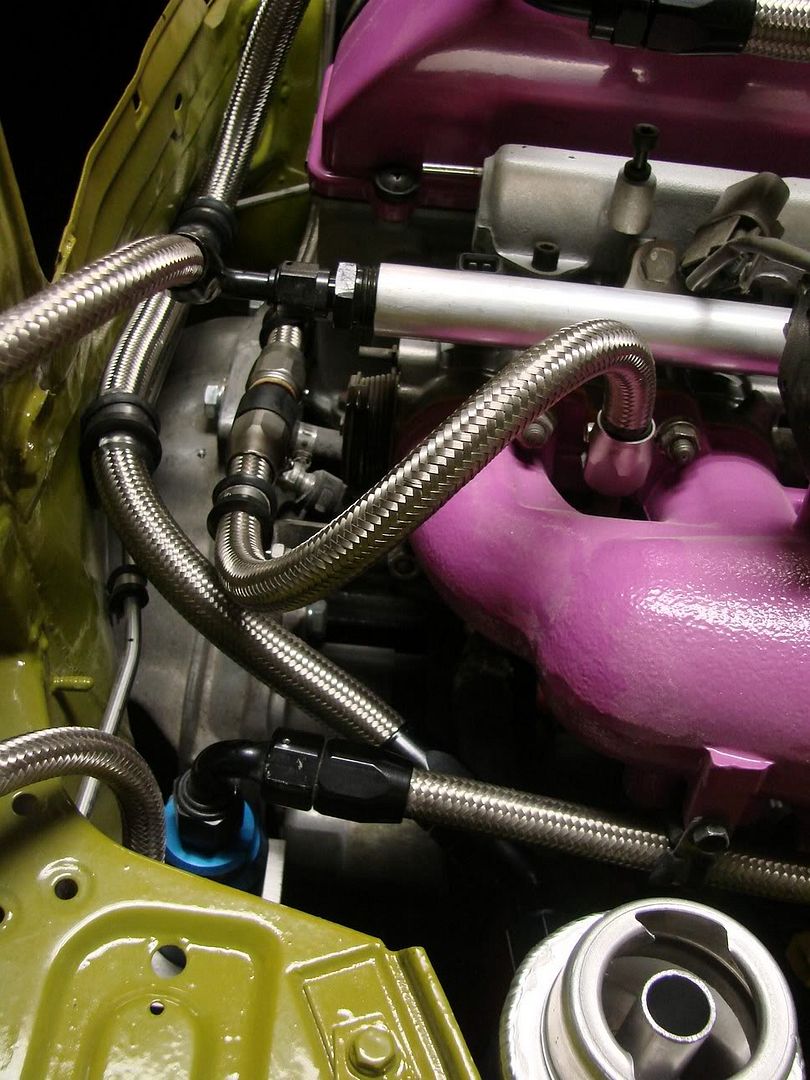
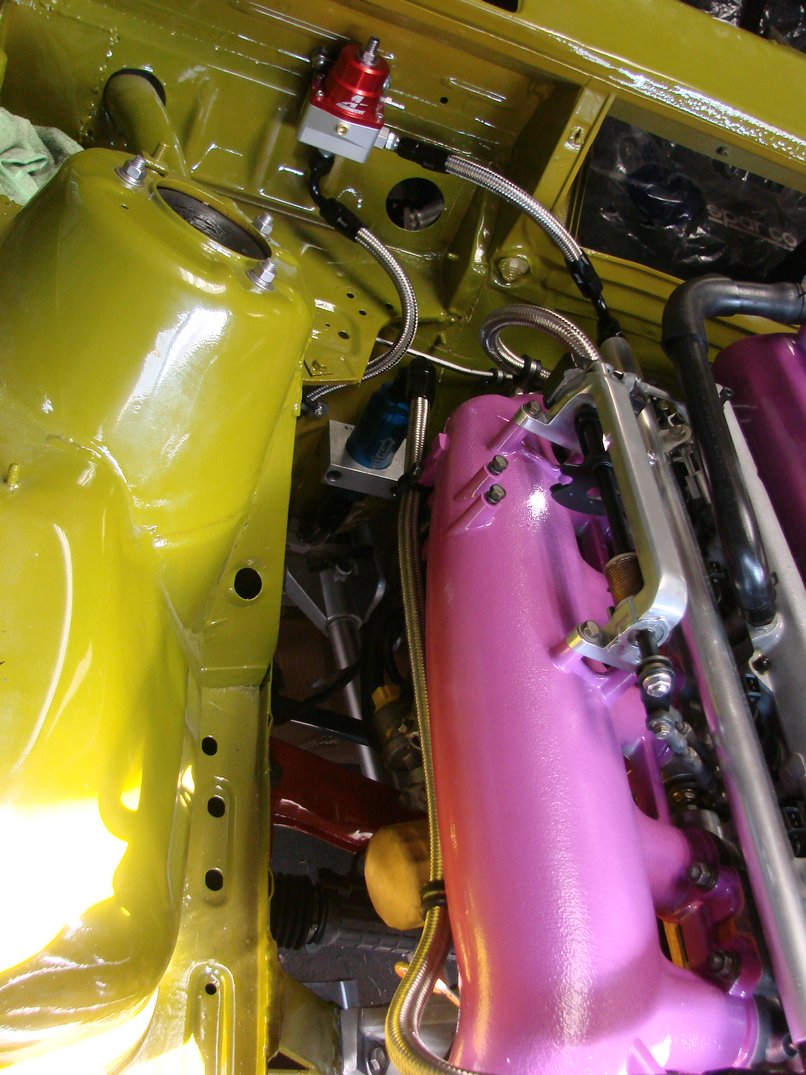
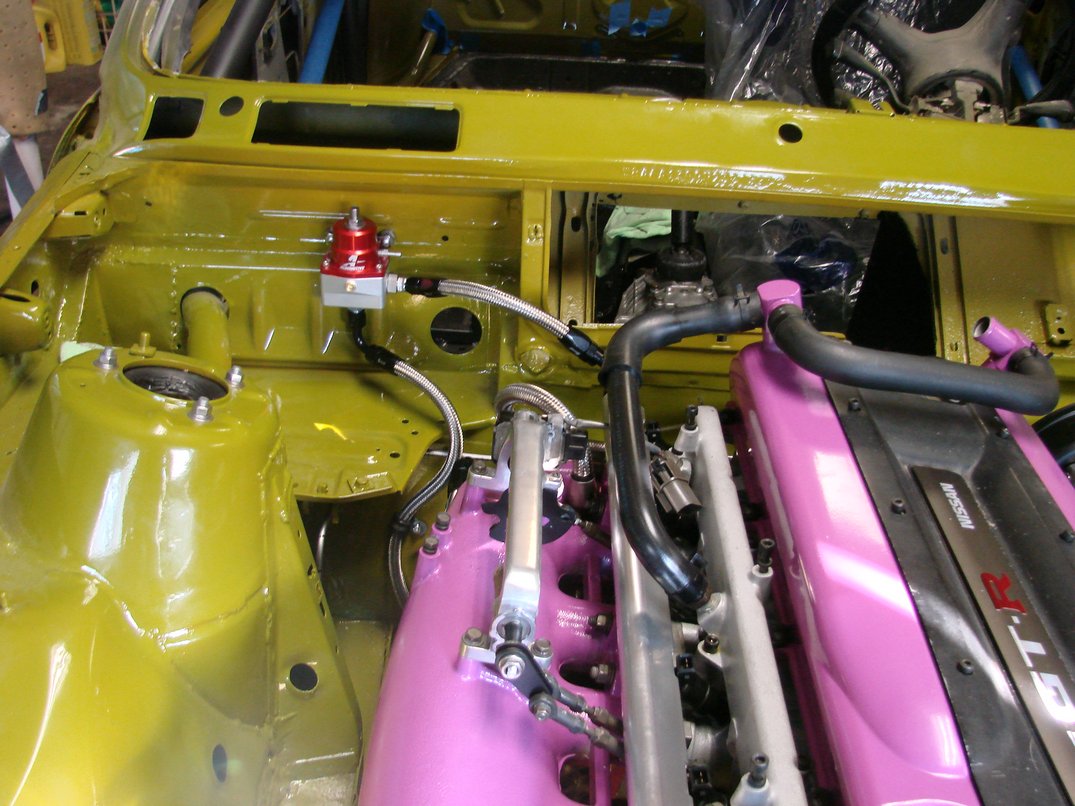
I spent a few hours last night buttoning up the AN Plumbing on the car. DETAILS DETAILS DETAILS!
Oil feed and cooling lines:
The coolant line attaches to a nipple on the water outlet. Instead of going through the hassle of welding on an AN bung, I simply used a hose end cover. It's a little corny, but it looks pretty good.
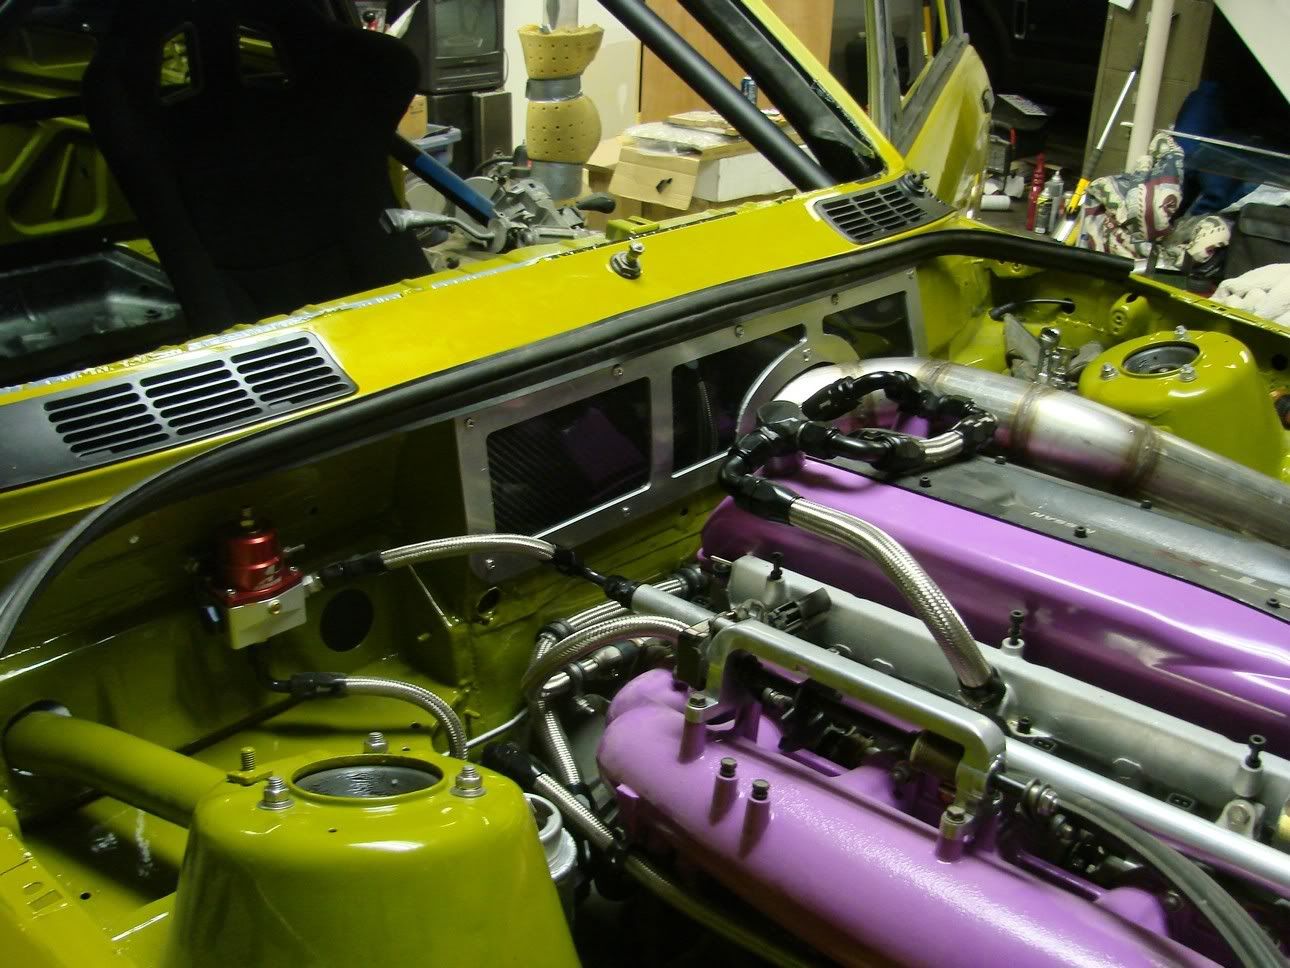
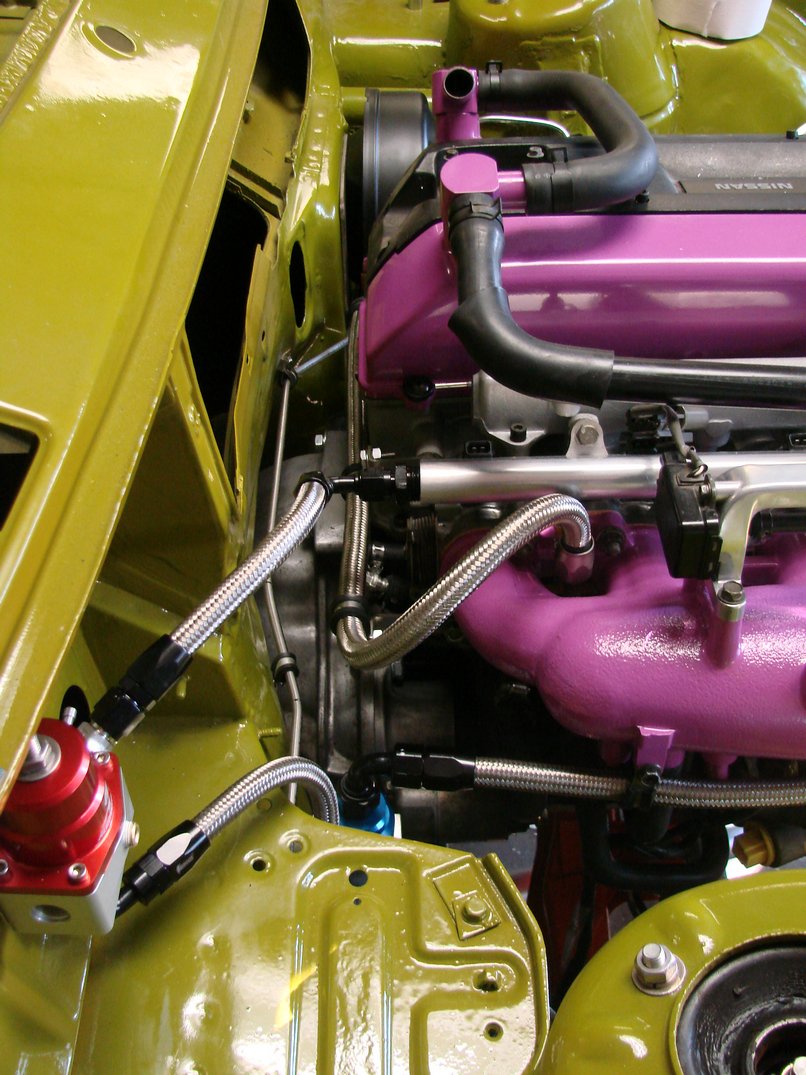
Ran the lines to the Aeromotive FPR. I still need to put a plug in the other port. I also cut off the vac port for the old charcoal canister and plugged it, then added another clamp for the fuel feed line at the back of the plenum. You can see what's missing if you compare it to THIS pic.
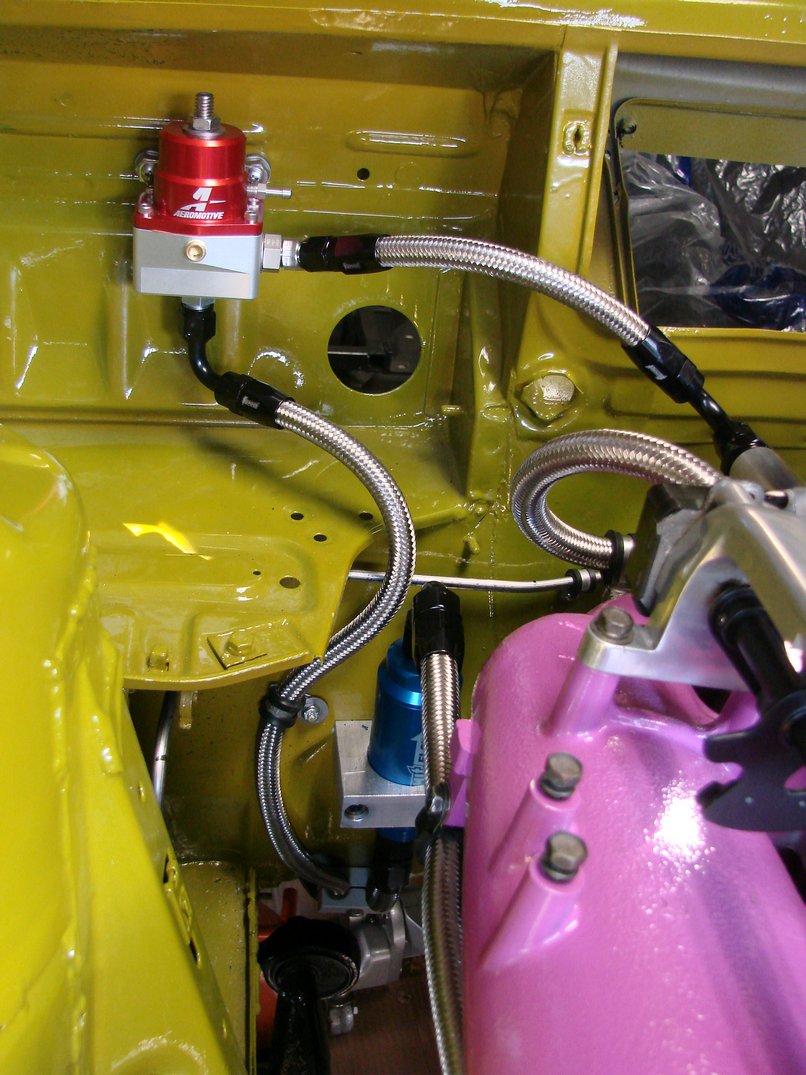
Another shot of the FPR
I wish you could see the brackets that I made for the brake booster line. I made 3 stainless L brackets and used them to mount line clamps to. They came out really nice and hold the vacuum line very straight. I am planning on mounting the check valve in between the two closest to the camera. Again I used hose finishers to clean up the look.
Another shot of the FPR showing the cable clamps holding the return line.
Another shot of the brake booster vacuum line. There's a clamp that's hard to see mounted to the head lifting bolts. (The other two are off the plenum and intake studs)
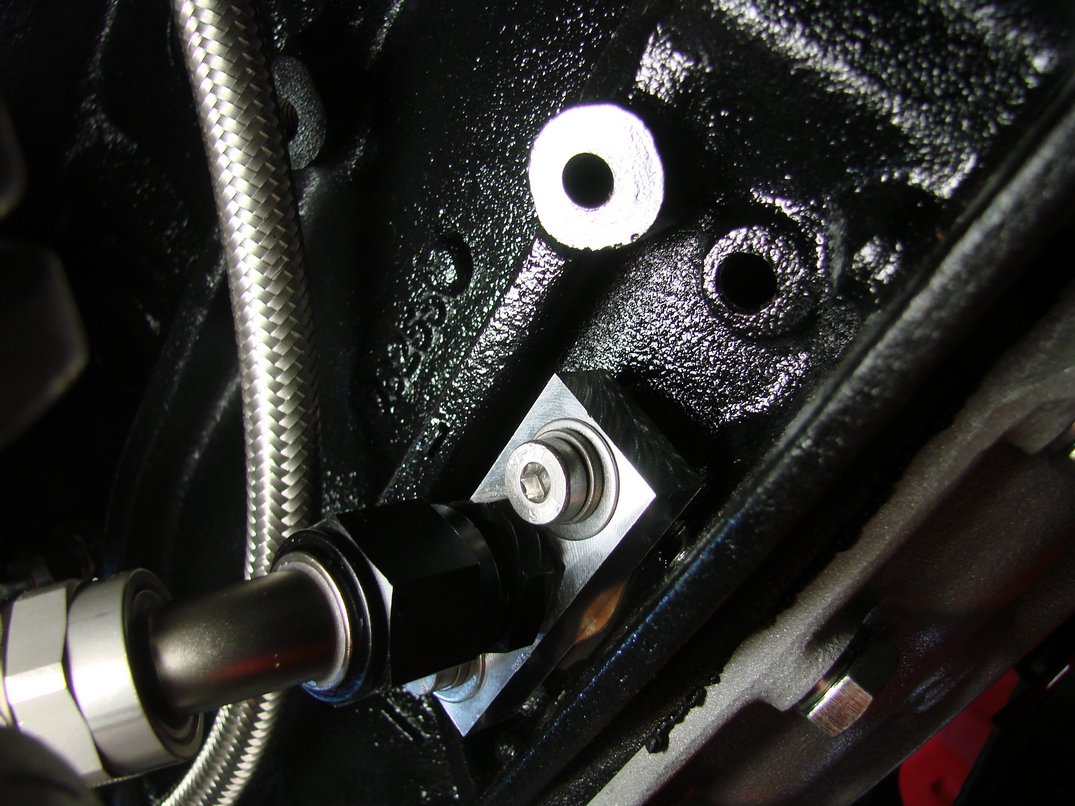
Shot of the drain and coolant line. I made both the drain flange and the block flange, wish I had a pic of them off the car, they came out awesome. I still have to do something with this coolant line.
Here's a shot of the block flange on the car.
I also took the rotor hats off the car so I can get them anodized.
-
good to see different types of car builds out there instead of the same old cars all the time!
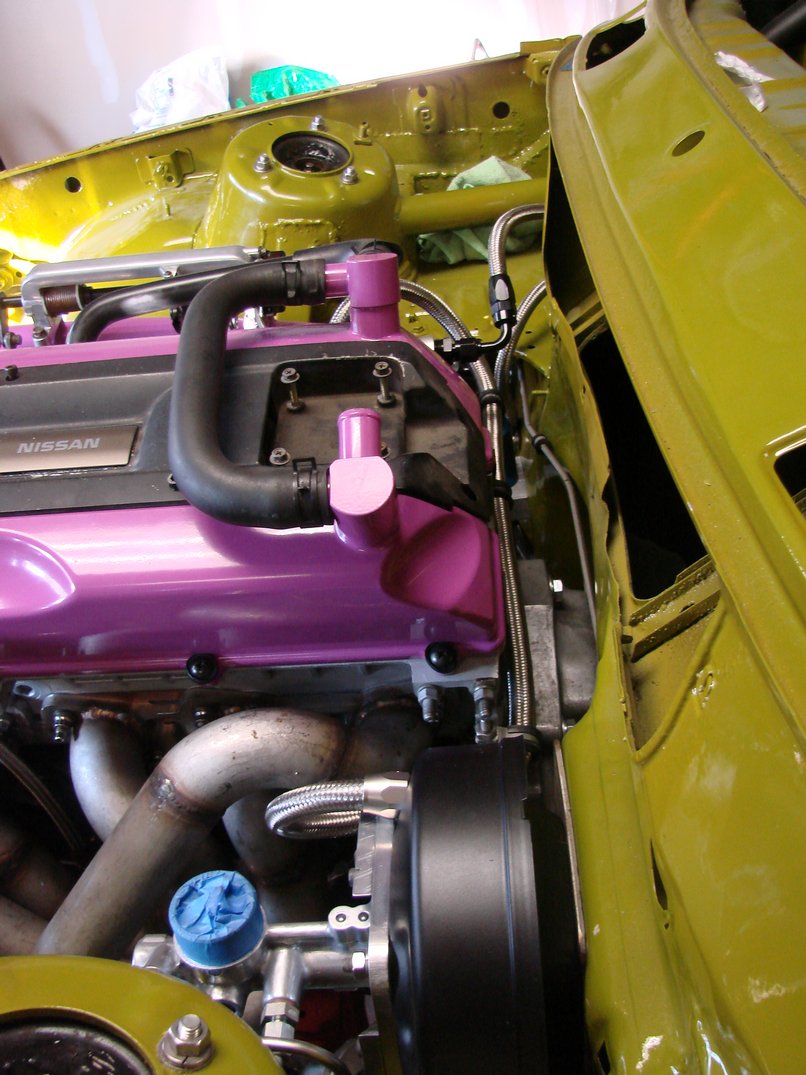
you might though need some extra ventilation on hot track days..! and also, is your bonnet going to close properly?
love this build, love the engine, love the wheels.. its a + from another member!
Thanks!
The hood does close:
-
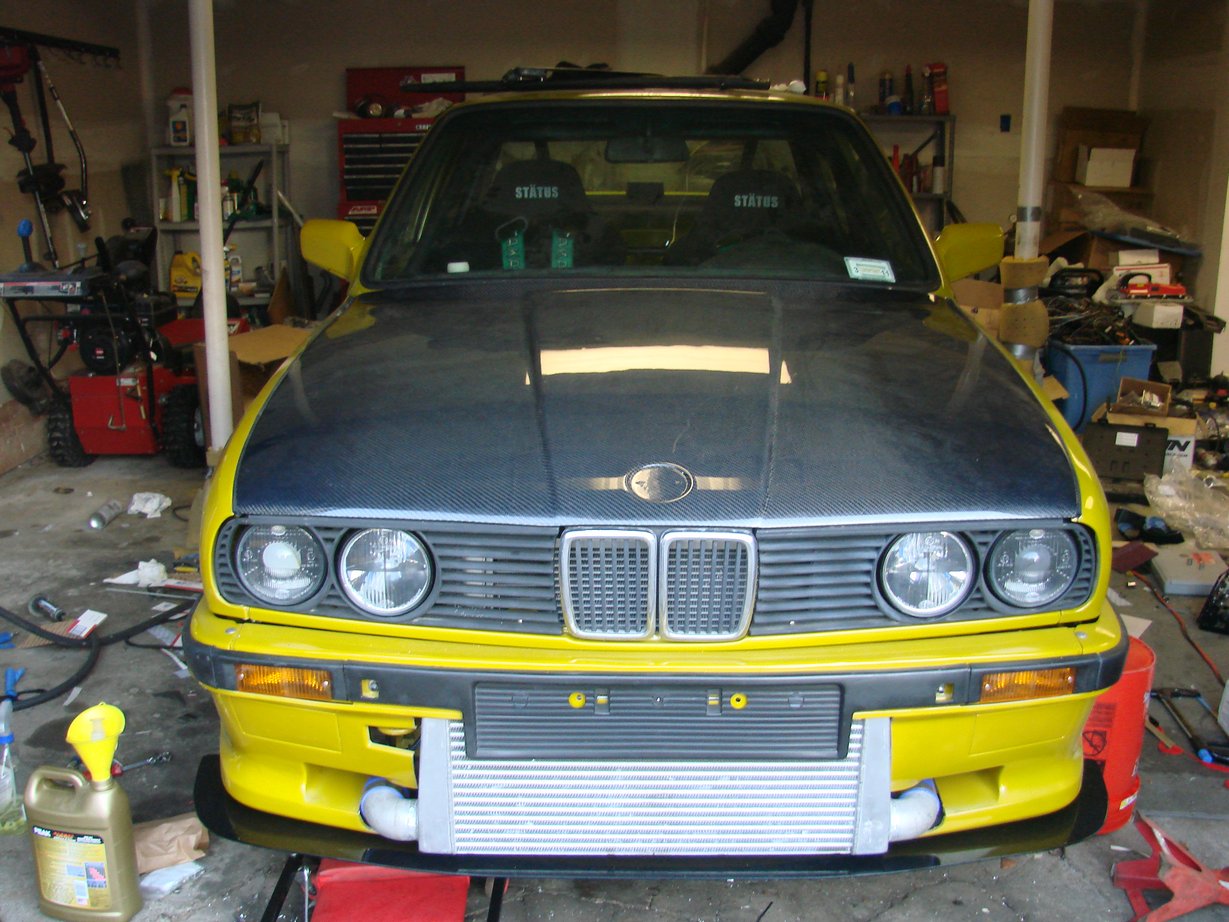
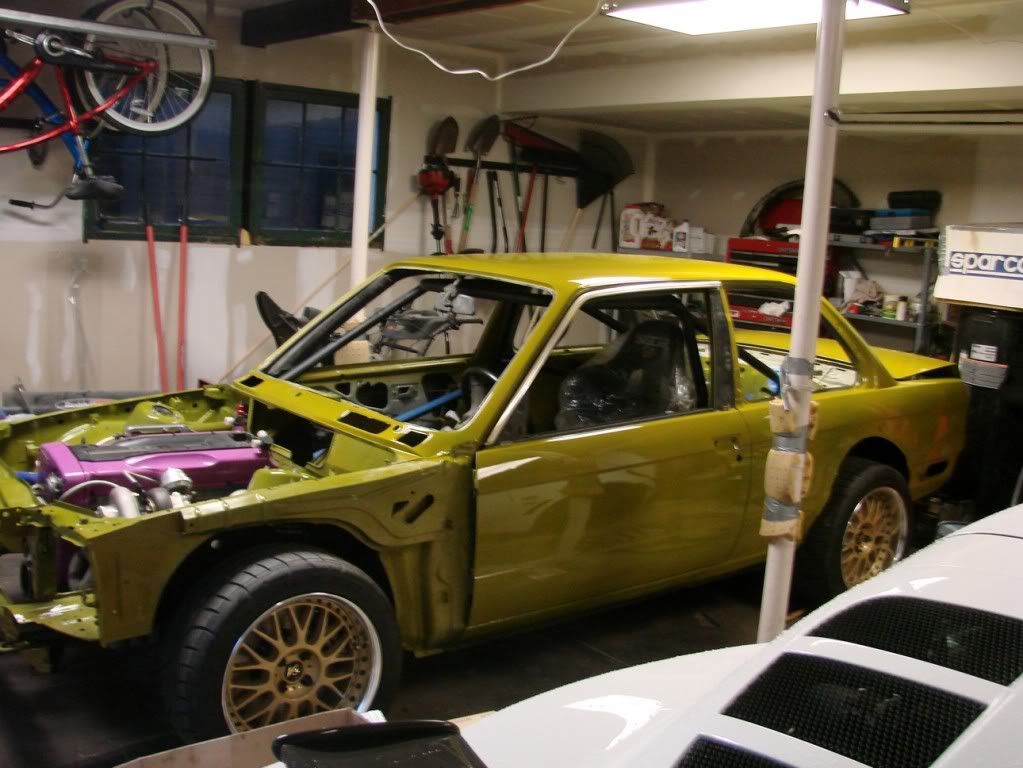
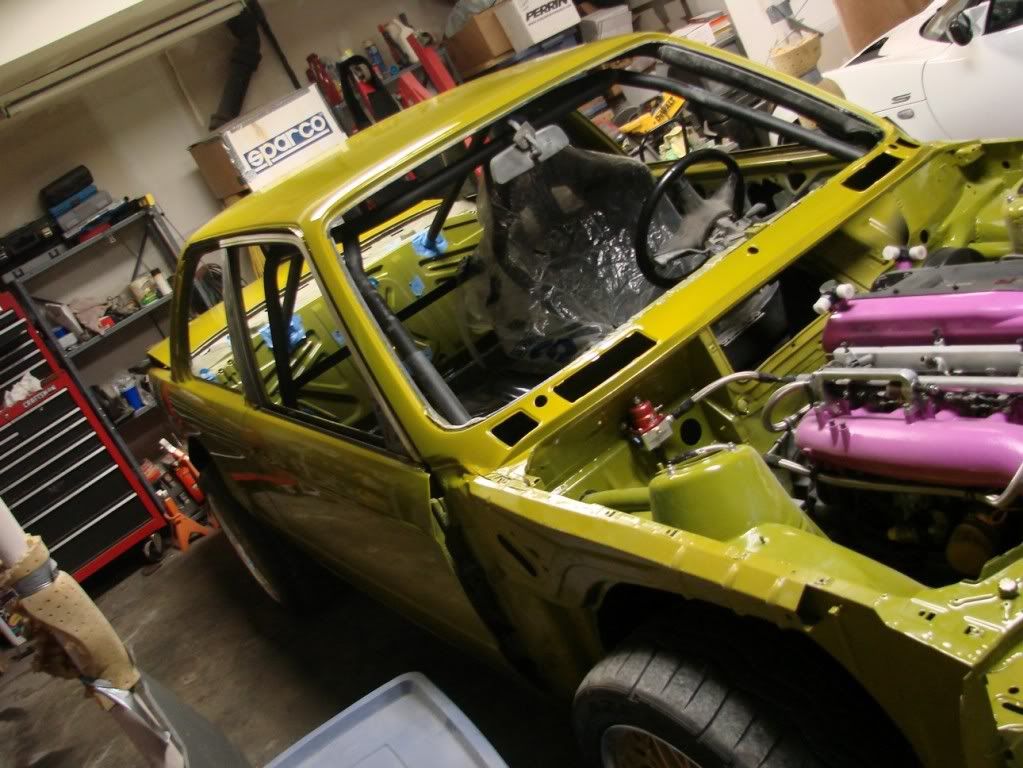
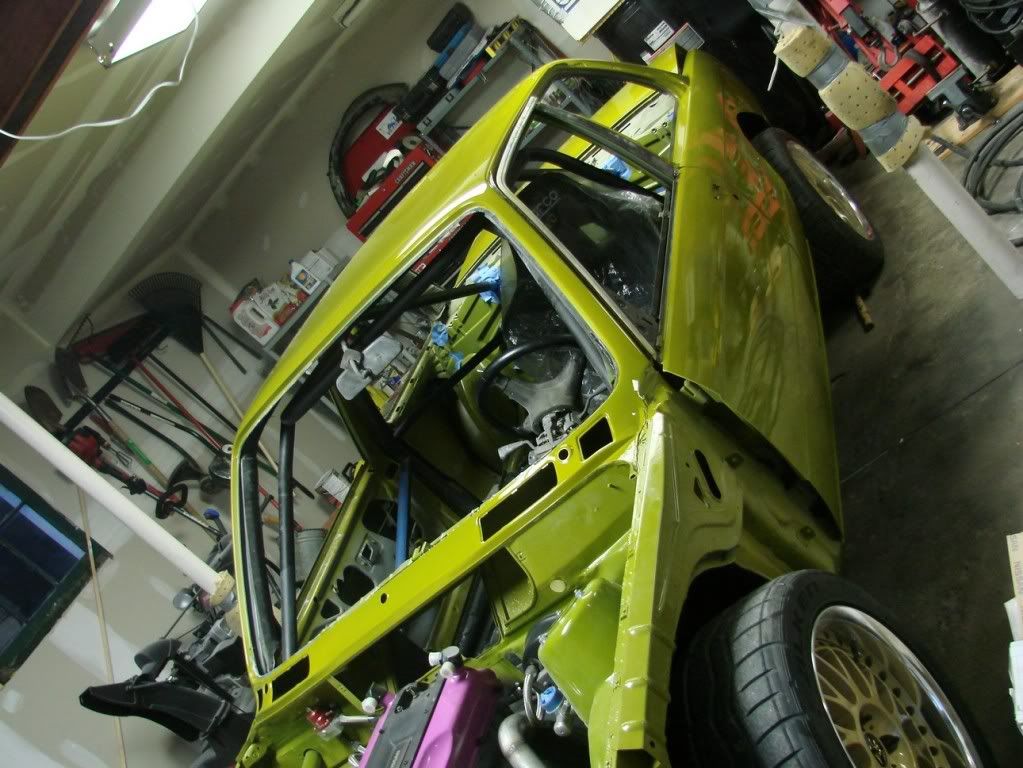
Cleaned the garage today, didn't really work on the car at all. But I figured since it was clean I'd snap a few pics.
-
Got the transmission in today. Not as easy as I expected, the little bump where the starter goes contacted the firewall. I had previously only installed the trans with no clutch, so it could slide nearly straight up. This was not the case now, but it went in without TOO much effort. Starter went in too.
I also permanently mounted the brake booster as well as the clutch/brake pedal assembly.
Lastly I made up the last piece of the fuel feed line, had to order a few parts from summit to finish up the return, but I know where I am going to mount the regulator now...
I feel it's little stuff like how you mount the lines that really makes a build good... I hate zipties and loose hoses.
-
looks like it would foul on the steering link if it was in the 'usual' position.
^ this
-
-
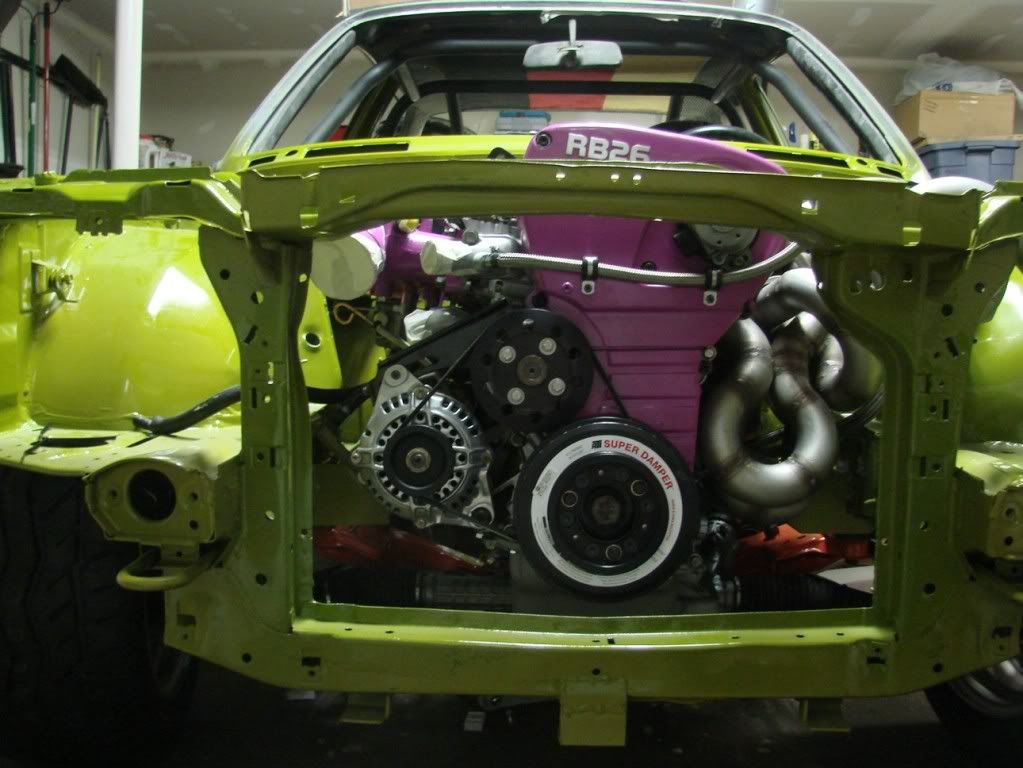
can someone just post a pic of the back of a stock rb26?


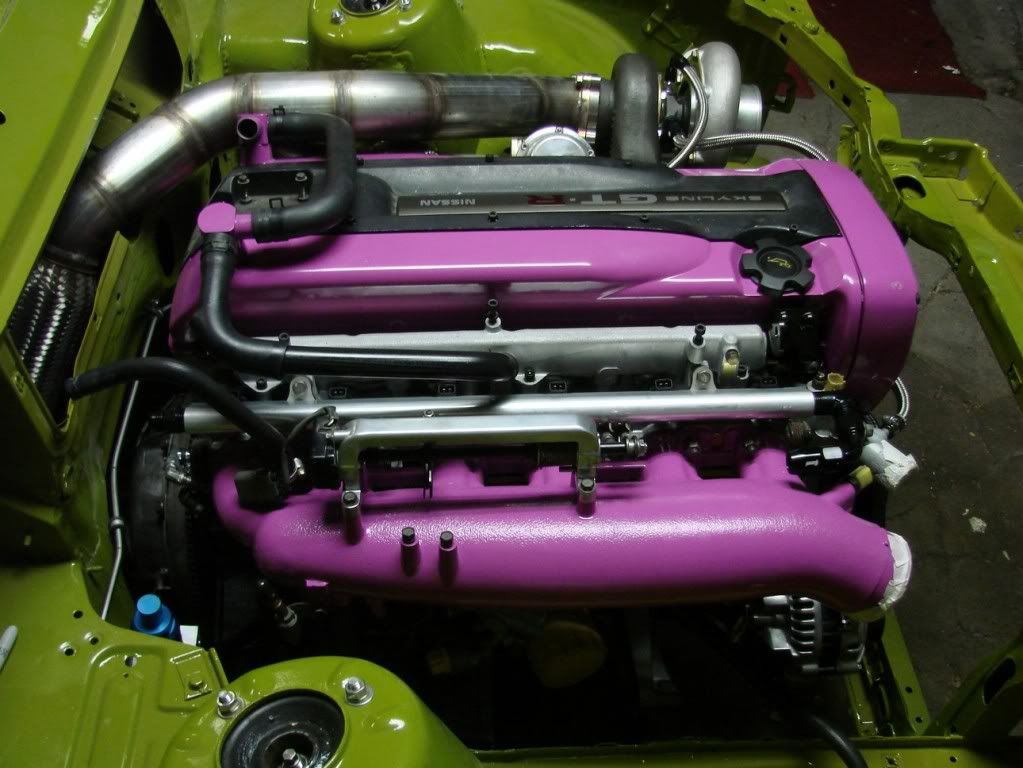
Does My Top End Sound Exceptionally Loud?
in RB Series - R31, R32, R33, R34 (1986-2002)
Posted
I'm in the states so I don't think it'll be a problem... Cops will probably think it's an american muscle car or something.