
Announcements
-
Similar Content
-
-
Latest Posts
-
 Other than reproducing it, I very much doubt you'll find one, Do you have a pic of what you mean?
 -
 Just for shits and giggles here is some pics of the ramps on my old Nismo GT LSD
 -

By Celticsfan03 · Posted
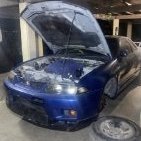
Hey everyone. Is there a way I can get the original window sticker (maroney label) for my 1995 R33 GTST? I doubt I’ll be able to ever get it but it’s worth a shot to ask -

-
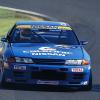
 It was a great, but typical track day, and some VB was ingested at the night time debrief 🤪
-


Recommended Posts